Hello Everyone. I’m really happy you’re here today. This is one of those projects that started out of necessity and ended up becoming something I genuinely love having in my home.
If you’ve ever looked at a pile of old bedsheets or worn bedding and wondered if it was time to throw them away, this post is for you.
I learned how to make a DIY rag rug using old bedding during a time when I wanted to refresh my space without spending money.
What surprised me the most was how simple the process was and how beautiful the final rug turned out.
This is one of those slow, satisfying DIY projects that feels practical, creative, and rewarding all at once.
In this post, I’ll walk you through everything I learned, from choosing the right bedding to caring for your finished rug. If you’re a beginner, don’t worry.
This method is beginner-friendly, forgiving, and doesn’t require expensive tools.
Why I Decided to Make a DIY Rag Rug
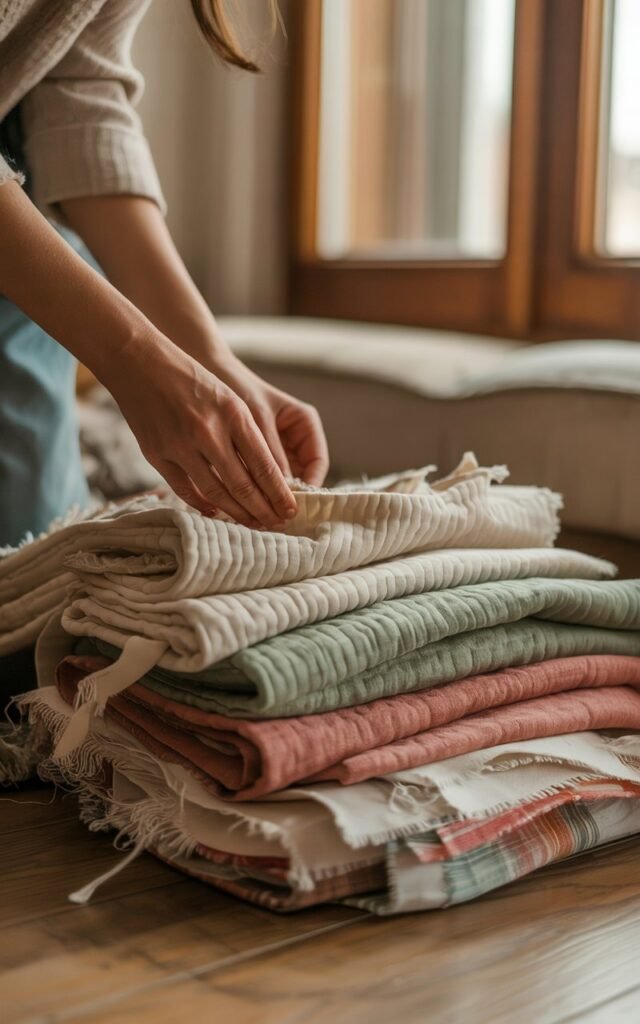
The idea came to me while cleaning out my linen closet. I had old sheets that were too worn for the bed but still perfectly usable.
Some had faded patterns, others had tiny flaws, but the fabric itself was soft and strong. Throwing them away felt wasteful.
I also wanted a small rug for my kitchen and entryway, something washable and cozy that didn’t cost a fortune. Buying a rug felt unnecessary when I already had so much fabric at home.
That’s when I started looking into rag rugs, and I realized this was exactly the kind of project I was looking for.
Making a DIY rag rug gave me a way to reuse what I already had while creating something practical and personal for my home.
What Is a Rag Rug and Why Old Bedding Works So Well
A rag rug is a handmade rug created by weaving, braiding, crocheting, or looping strips of fabric together.
Traditionally, rag rugs were made as a way to reuse old textiles, and that tradition still makes sense today.
Old bedding works especially well for rag rugs for a few reasons.
Bedsheets are usually made from cotton or cotton blends, which are durable, soft underfoot, and easy to work with.
They’re also lightweight, making them easier to cut and weave than heavier fabrics like denim.
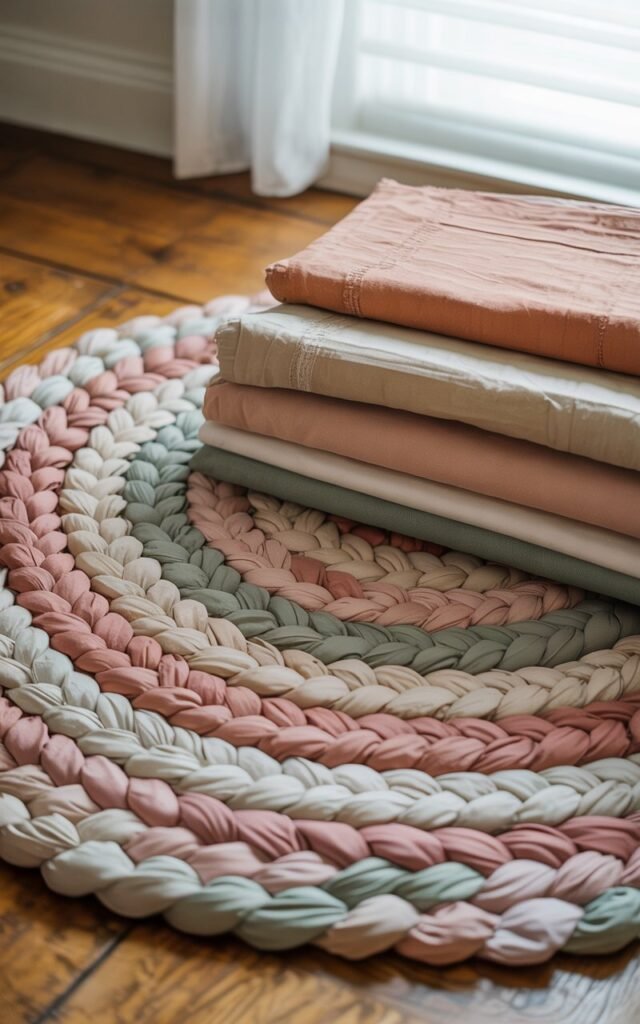
Another thing I love about using bedding is the natural color variation.
Even faded sheets create a beautiful, lived-in look that adds character to the rug instead of taking away from it.
Supplies You’ll Need to Make a DIY Rag Rug
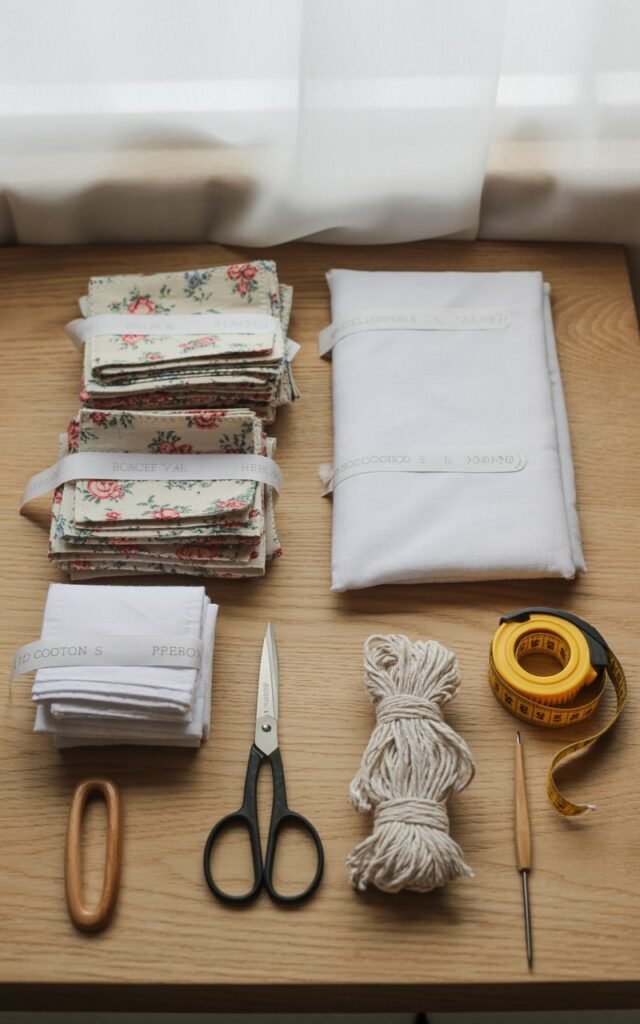
One of the best things about this project is how minimal the supply list is.
You may already have everything you need at home.
You’ll need old bedding such as bedsheets, pillowcases, or duvet covers.
Fabric scissors are important because cutting strips with dull scissors becomes frustrating quickly.
You’ll also need a sturdy base, depending on the method you choose.
Some people use a non-slip rug mat, burlap, or even an old towel as a foundation.
If you plan to braid or crochet your rug, you’ll need clips or safety pins to hold sections together.
For a no-sew looped rag rug, you may only need a latch hook or your fingers.
How to Prepare Old Bedding for a Rag Rug
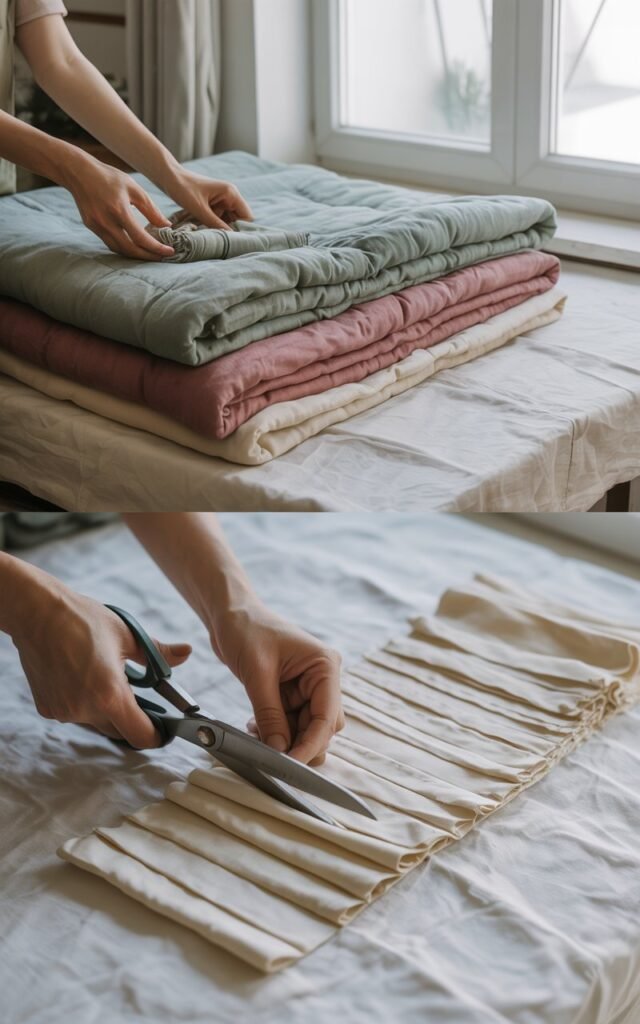
Preparation makes the whole process smoother. I always start by washing and drying the bedding.
This removes dust and softens the fabric, making it easier to work with.
Once the bedding is clean, I lay it flat and cut it into long strips. I aim for strips about one to two inches wide.
They don’t need to be perfect. In fact, slight variations in width add texture and character to the rug.
If your sheet isn’t long enough to make continuous strips, you can overlap and knot the ends together.
I usually keep the knots small and consistent so they don’t create bumps later.
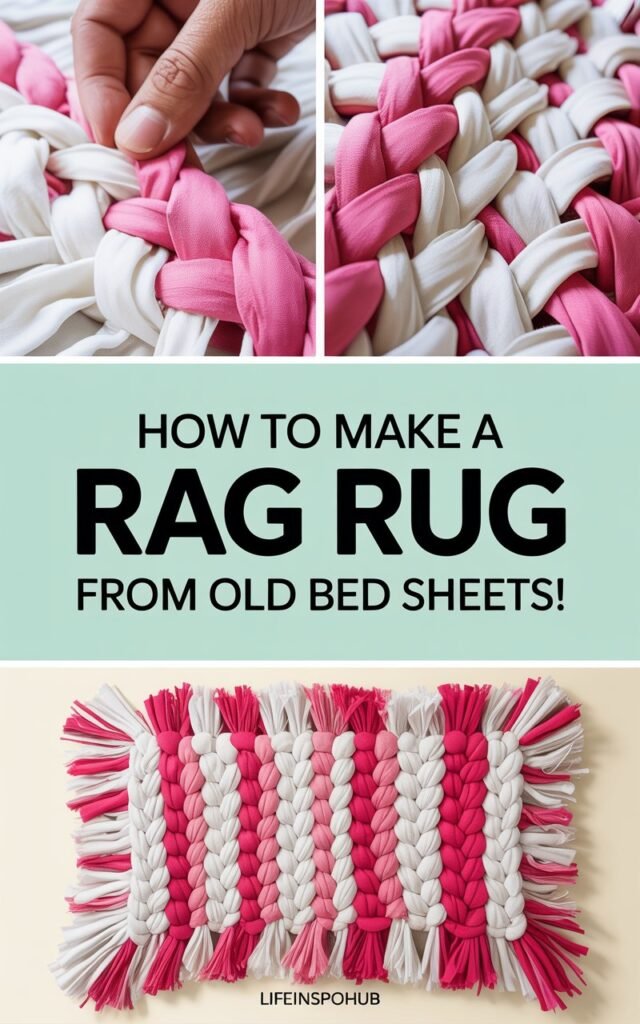
Step-by-Step: How to Make a DIY Rag Rug Using Old Bedding
This method is simple and works well even if you’ve never made anything like this before.
I start by gathering three fabric strips and tying them together at one end.
Then I braid the strips just like hair, keeping the tension firm but not too tight.
As I braid, I gently flatten the braid so it lies evenly.
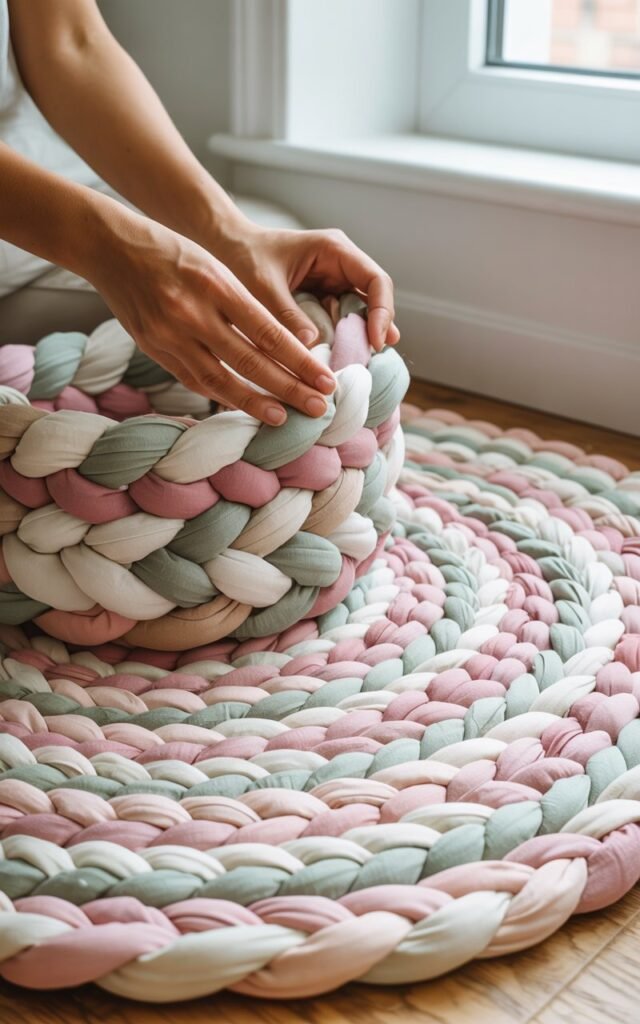
Once the braid is long enough, I coil it into a spiral shape, stitching or tying the layers together as I go.
You can use strong thread, yarn, or even thin strips of fabric to secure the coils.
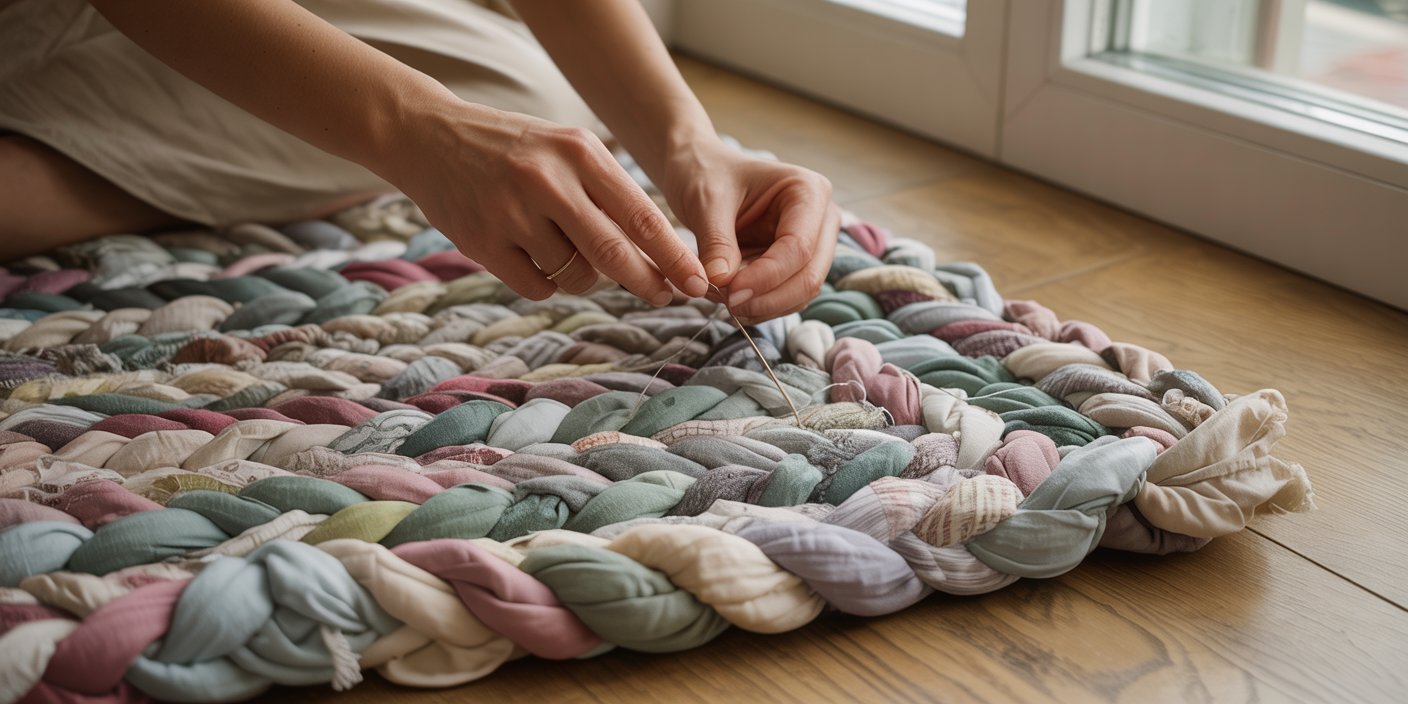
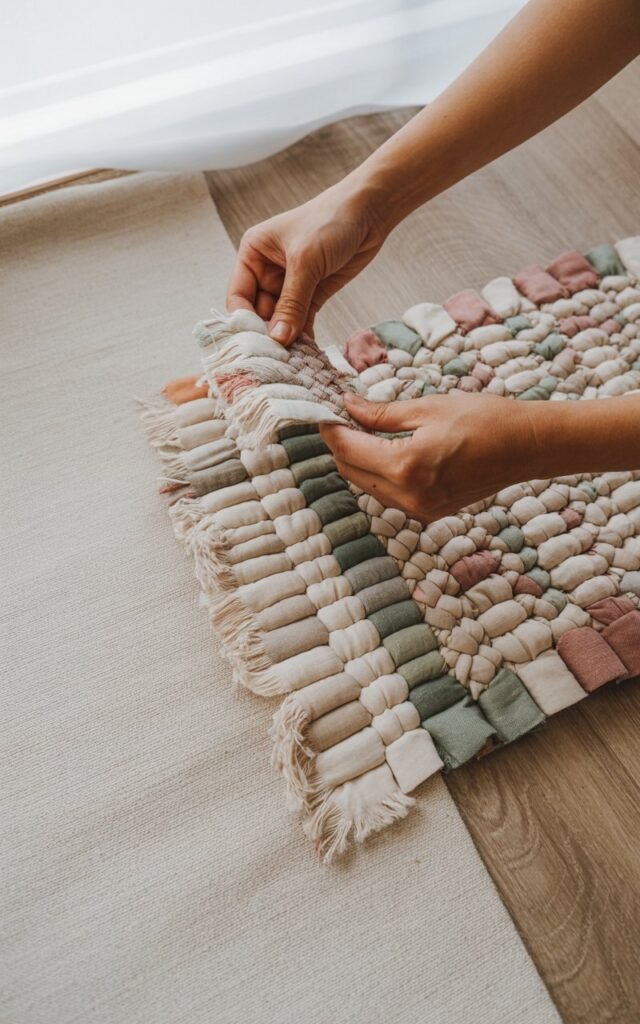
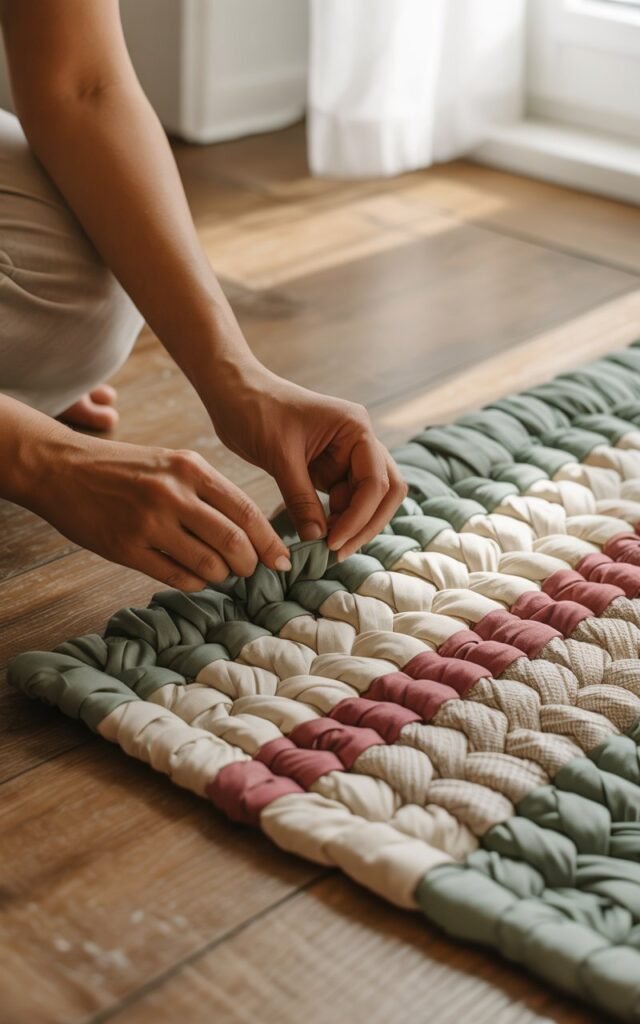
If you’re using a base like burlap or a rug mat, you can loop or weave the fabric strips directly through the holes.
This method creates a textured rug and works especially well for rectangular shapes.
I worked slowly, usually over a few evenings, and found the process relaxing. There’s no rush with this project, and that’s part of the charm.
Common Mistakes to Avoid When Making a Rag Rug
One mistake I made early on was pulling the fabric too tight.
When the tension is uneven, the rug can curl instead of lying flat.
Keeping the braid or loops relaxed but consistent helps the rug maintain its shape.
Another common issue is not securing the fabric ends well enough.
If you don’t tie or stitch the ends properly, they can loosen over time.
Taking a few extra minutes to secure each section saves frustration later.
Lastly, avoid mixing fabrics that stretch differently.
Bedding fabric works best when it’s similar in weight and material, which is why old sheets are ideal.
Tips to Make Your Rag Rug Look Better and Last Longer
Consistency is key. Even though the project is forgiving, keeping strip widths and tension relatively even makes the rug look more polished.
I also recommend rotating the rug occasionally once it’s in use.
This helps distribute wear evenly, especially in high-traffic areas.
If you want a thicker rug, you can braid wider strips or double up thinner ones. For a lighter rug, narrower strips work beautifully.
Best Places to Use a DIY Rag Rug in Your Home
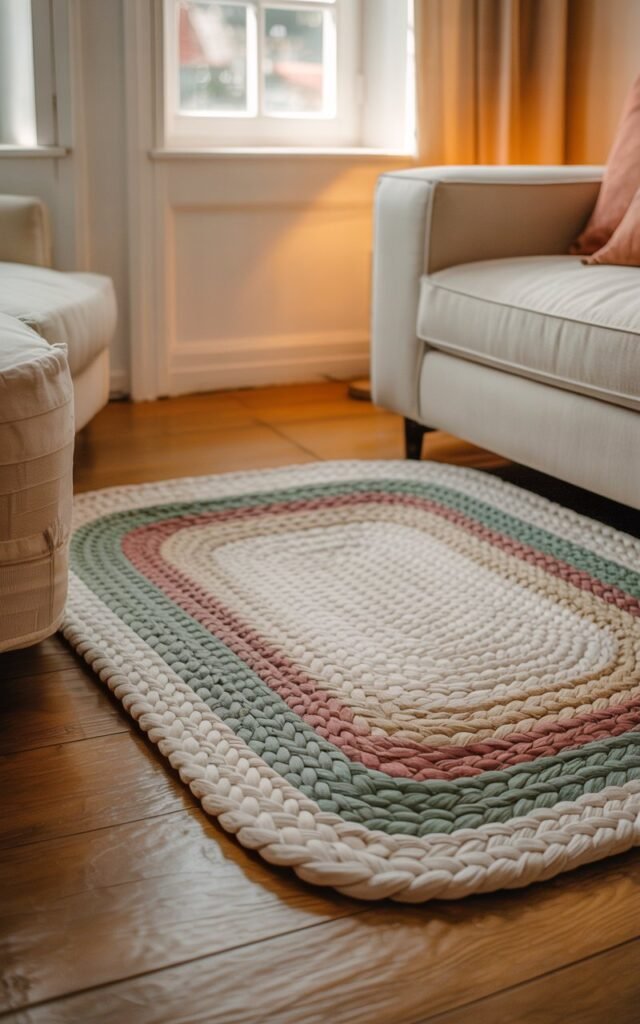
I’ve found rag rugs to be incredibly versatile. They work well in kitchens, bathrooms, entryways, laundry rooms, and even bedrooms.
Because they’re soft and washable, they’re perfect for spaces where comfort and practicality matter most.
I keep one by my kitchen sink and another near the back door. They add warmth to the space and make it feel more lived-in and welcoming.
How to Wash and Care for a Rag Rug
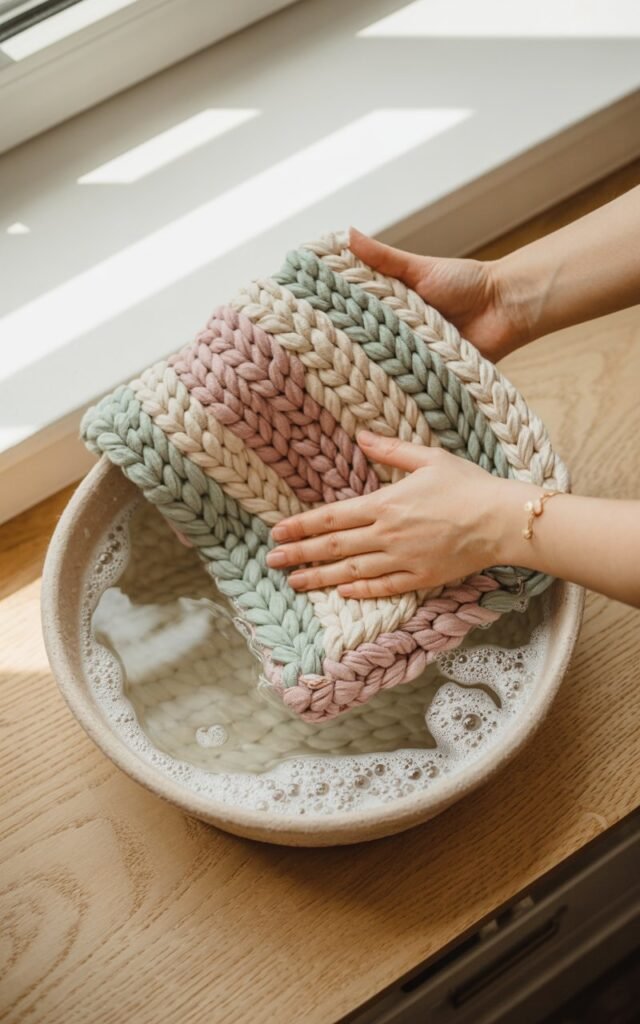
One of the biggest advantages of a rag rug made from bedding is how easy it is to clean.
Most of the time, I shake it out or vacuum it.
When it needs a deeper clean, I wash it in cold water on a gentle cycle and let it air dry.
Avoid high heat in the dryer, as it can shrink or weaken the fabric over time. With proper care, a rag rug can last for years.
Final Thoughts: Why Making a DIY Rag Rug Is Worth It
Making a DIY rag rug using old bedding taught me that beautiful home decor doesn’t have to be expensive or complicated.
This project allowed me to reuse materials, slow down, and create something with my own hands that I use every day.
There’s something deeply satisfying about turning what would have been waste into something functional and meaningful.
If you’ve been looking for a budget-friendly, beginner-friendly DIY project, this is one I genuinely recommend trying.
Take your time, enjoy the process, and don’t worry about perfection. Your rug will be one of a kind, and that’s exactly what makes it special.