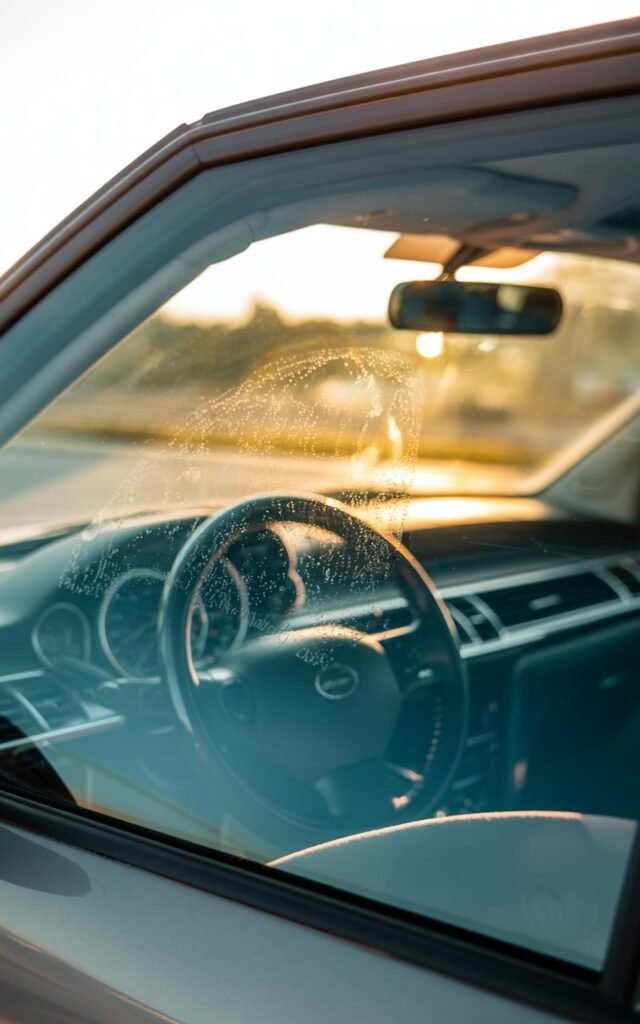
Hi, my lovely family! If you’ve ever driven on a sunny day and noticed streaks or a foggy film on your windshield, you know how frustrating it can be.
I remember one afternoon when the sunlight hit my windshield just right, and I realized my inside glass was almost impossible to see through.
It hit differently—suddenly, I understood that cleaning the outside isn’t enough.

The inside needs care too, and I’ve discovered a simple, effective method that makes it crystal clear in just a few steps.
After a few trials and errors, I’ve developed a 6-step routine that works perfectly whether you’re at home, in a parking lot, or even on a road trip.
These are methods I personally use, and they leave my windshield streak-free, safe, and easy to maintain.
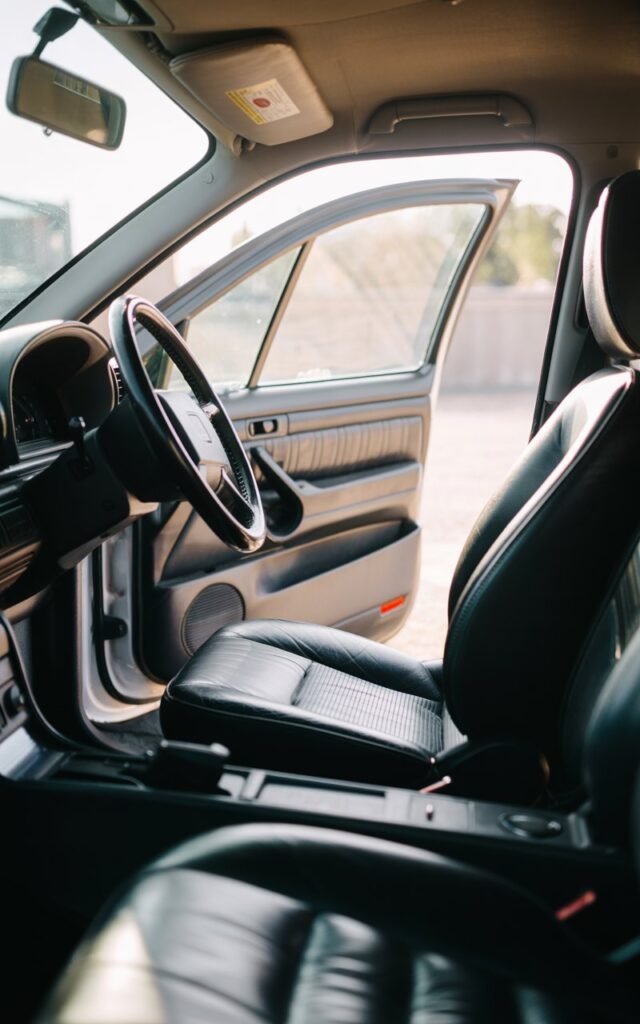
Why Cleaning the Inside of Your Windshield Matters
Many people overlook the inside of their windshield. From my experience, I’ve realized that:
- Dust and debris accumulate from the car’s interior, including fabric fibers, vents, and dashboards.
- Oils from hands and skin transfer to the glass while opening doors, touching the dash, or leaning inside the car.
- Cigarette smoke, food residue, or sprays can leave a thin layer of grime that reflects sunlight.
Neglecting the inside can cause glare, reduce visibility, and make driving uncomfortable, especially during sunrise or sunset.
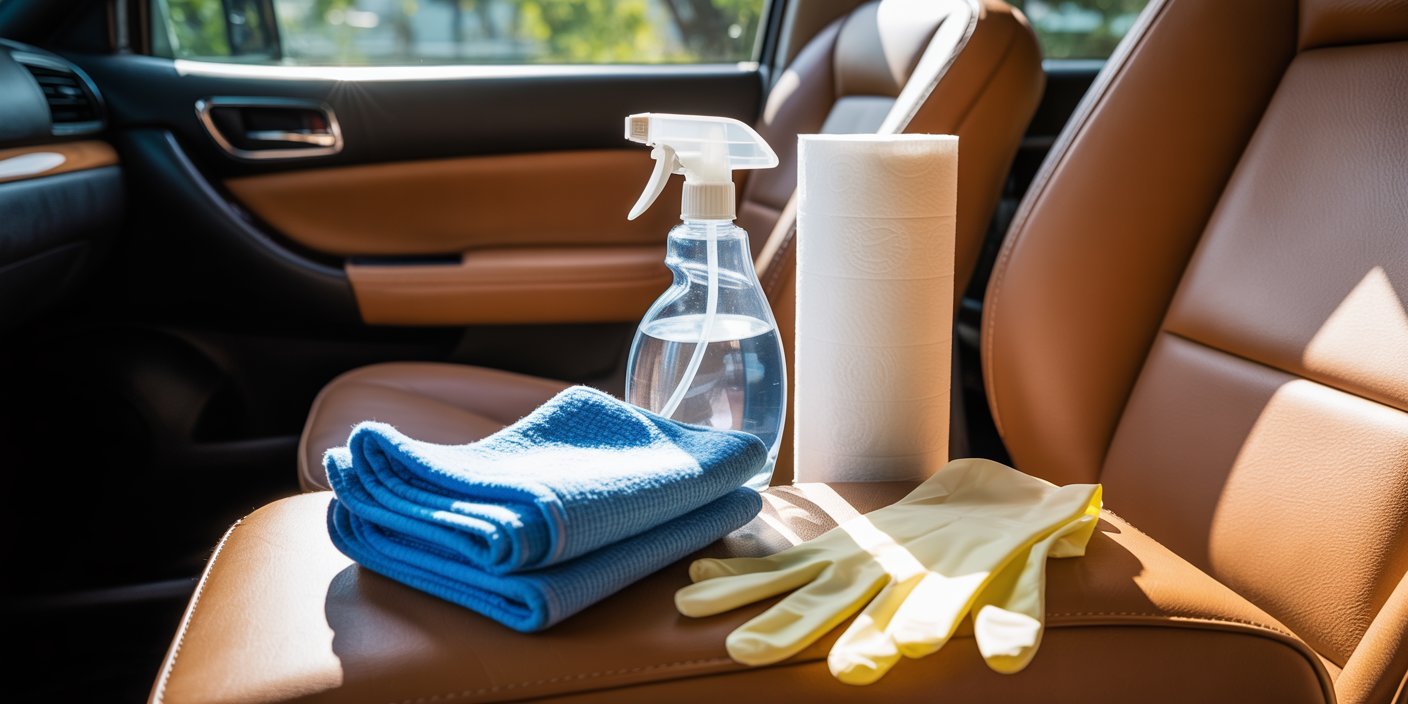
What You’ll Need
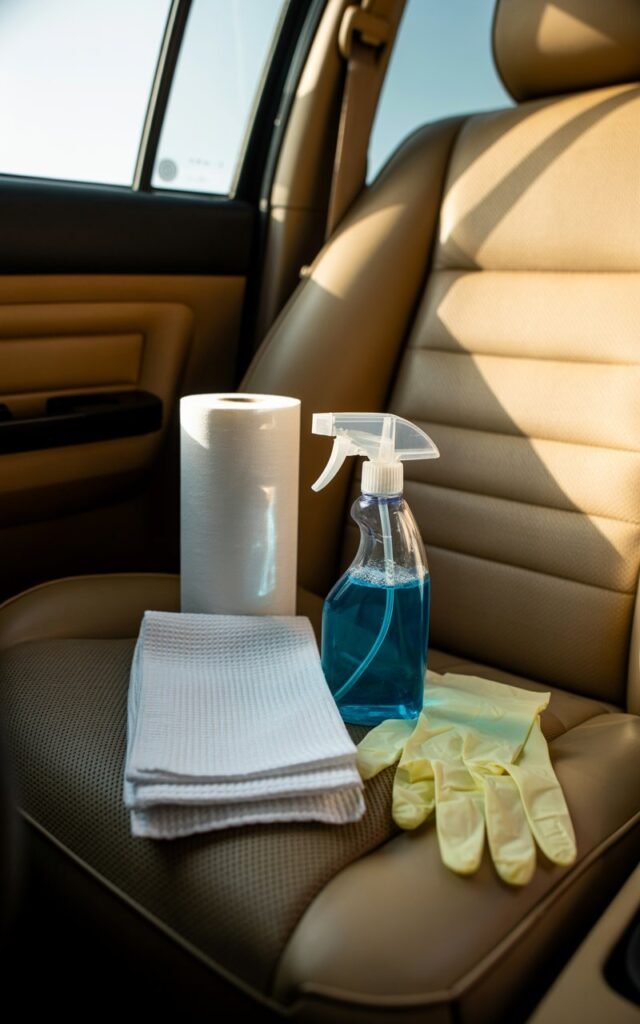
Before starting, gather these items. I keep them in a small bag in my car so I can clean whenever needed:
- A microfiber cloth (preferably two: one for wiping, one for drying)
- Glass cleaner (or a vinegar-water solution for natural cleaning)
- Spray bottle if using a homemade solution
- Detailing brush or soft toothbrush for tight corners
- Optional: Rubber gloves to keep hands clean
Step 1: Prepare Your Car
Before you start cleaning, remove any objects near the windshield. I always:
- Move the dashboard items aside
- Lift wipers off the glass (if necessary)
- Roll down the windows slightly for ventilation
Why: This prevents overspray on the interior and ensures your hands can move freely.
Step 2: Dust and Brush the Corners
The corners of the windshield often trap dust and debris.
I take a soft detailing brush or an old toothbrush and gently sweep these areas first.
Tip from my experience: I also run the brush along the top of the windshield near the headliner.
Dust collects there, and if left, it will smear when sprayed with cleaner.
Step 3: Apply Cleaner Sparingly
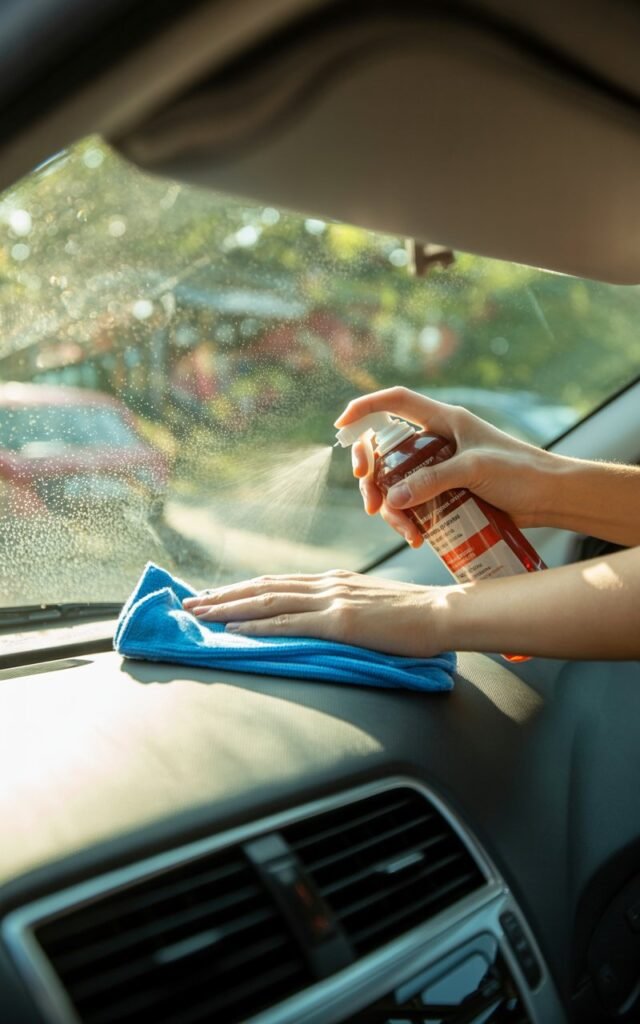
Whether using a commercial glass cleaner or a homemade vinegar-water solution, less is more.
I lightly spray the cleaner onto my microfiber cloth instead of directly onto the glass.
Why: Spraying directly can cause overspray on the dashboard, seats, or electronics.
A damp cloth ensures even coverage without mess.
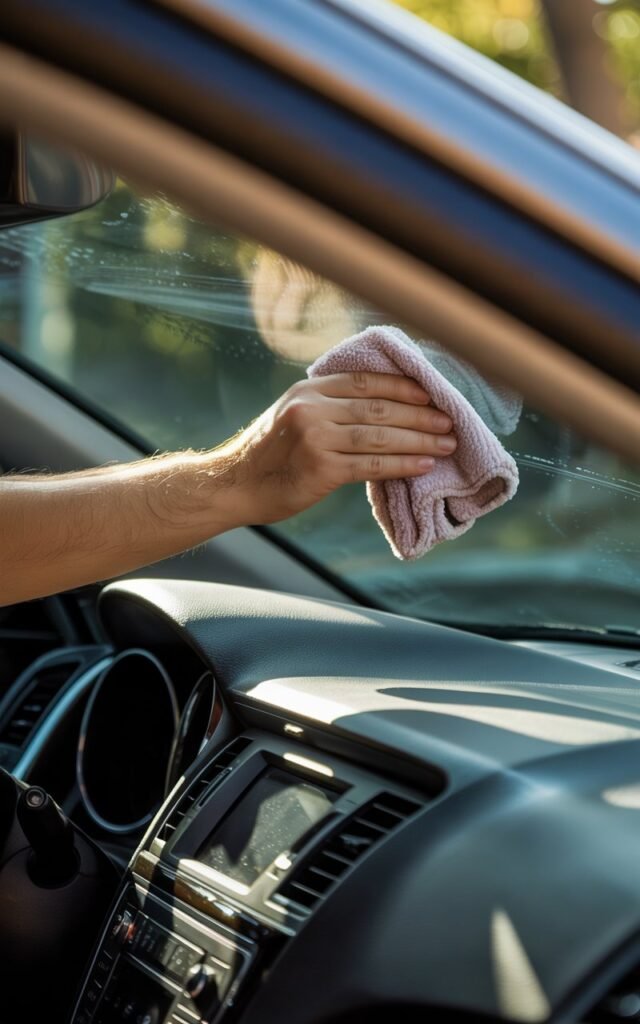
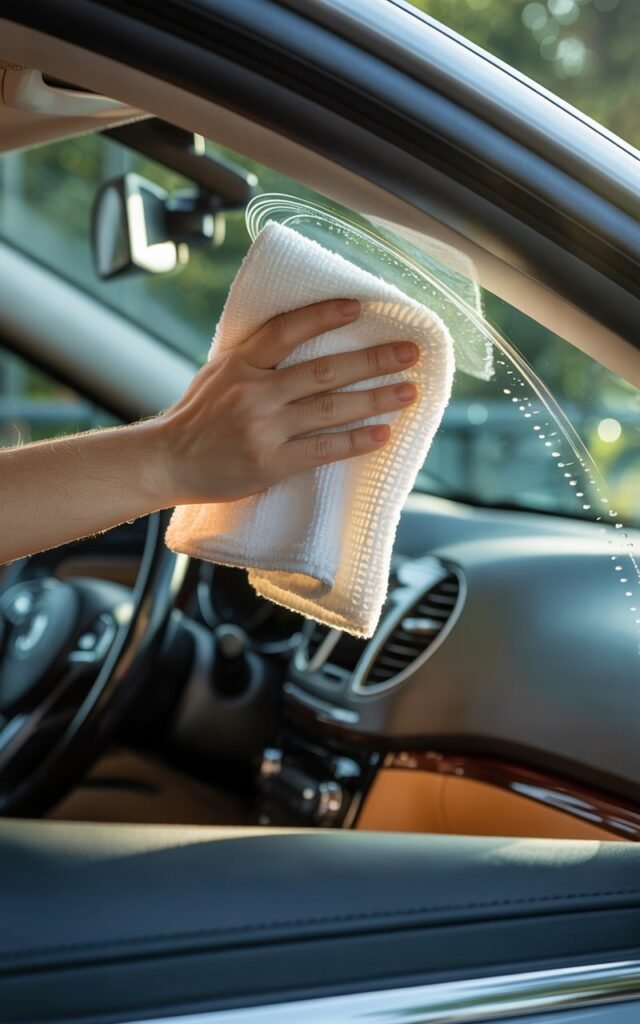
Step 4: Wipe in Circular Motions
I start from the top of the windshield and work my way down, wiping in gentle circular motions.
For larger windshields, I divide the surface into sections to ensure every area is cleaned.
Personal tip: If a spot is stubborn, I press slightly with the cloth while rotating in small circles.
This method removes oils and film without scratching the glass.
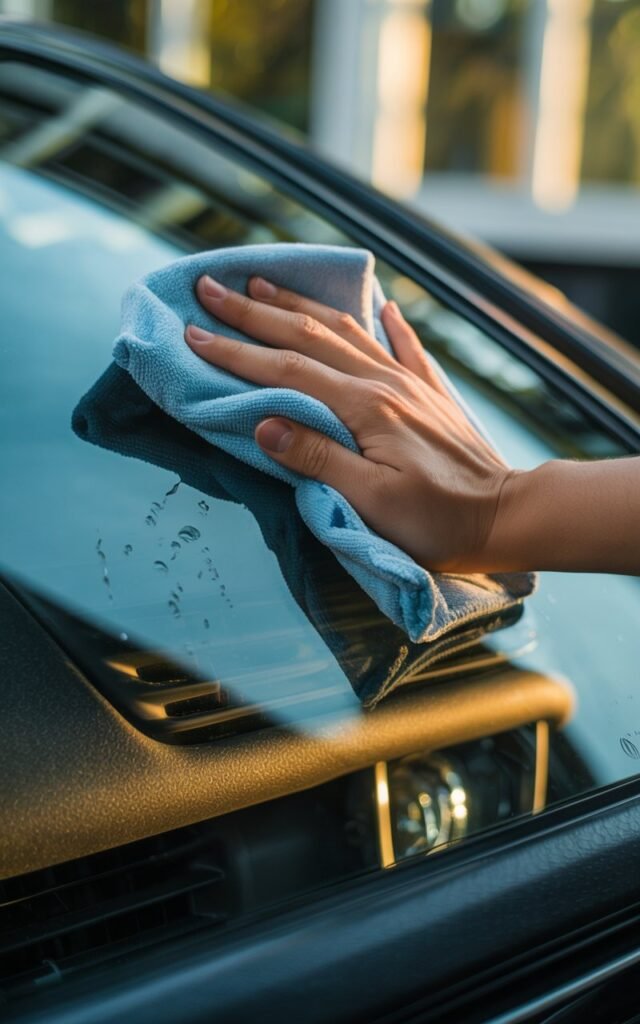
Step 5: Dry and Polish
Once the glass is clean, I use a second dry microfiber cloth to polish the windshield.
I work from top to bottom again, ensuring there are no streaks left behind.
My secret: I like to fold the cloth into a square and rotate it frequently. This keeps a clean side against the glass and prevents streaking.
Step 6: Inspect and Touch Up

Finally, I sit in the driver’s seat and check the windshield from different angles. If I notice any smudges or streaks:
- I lightly dampen the cloth and target those areas
- Repeat the polishing motion
Personal insight: The inspection step is the difference between a “clean-ish” windshield and a perfect, streak-free surface. I always spend a few minutes here, and it’s worth it for safety and clarity.
Extra Tips from My Experience
- Clean regularly: I aim for once every two weeks to prevent buildup.
- Avoid paper towels: They leave fibers behind and can cause scratches.
- Don’t forget vents and dashboard: Dust here often ends up back on the glass.
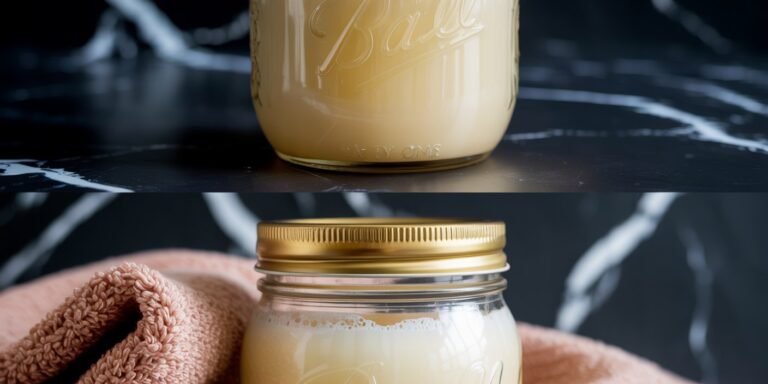
- Use natural solutions if preferred: A mix of 1 part white vinegar to 2 parts water works great and is chemical-free.
- Microfiber cloths are your best friend: They lift oils and dirt without streaking.
Why I Keep This Routine
Since I started following this 6-step method, driving feels safer, and my car interior looks fresher.
Sun glare doesn’t blind me in the morning, and guests often comment on how crystal-clear the windshield looks.
What I love most is that it only takes a few minutes, and the result is immediate.
Cleaning the inside of your windshield is simple but often overlooked.
By following these steps, you can maintain visibility, improve driving safety, and enjoy a cleaner car interior every time.