I didn’t wake up one morning planning to build a curtain rod shelf combo.
This project honestly started the way most of my home ideas do — standing in my living room, coffee in hand, staring at a bare wall and thinking, something is missing here.
I wanted storage, but not bulky shelves.
I wanted curtains, but I also wanted a place to style plants, books, and those little decor pieces I keep buying with no real home for them.
Hiring someone or buying a custom unit wasn’t happening, so I decided to experiment with what I already understood: curtain rods and simple shelves.
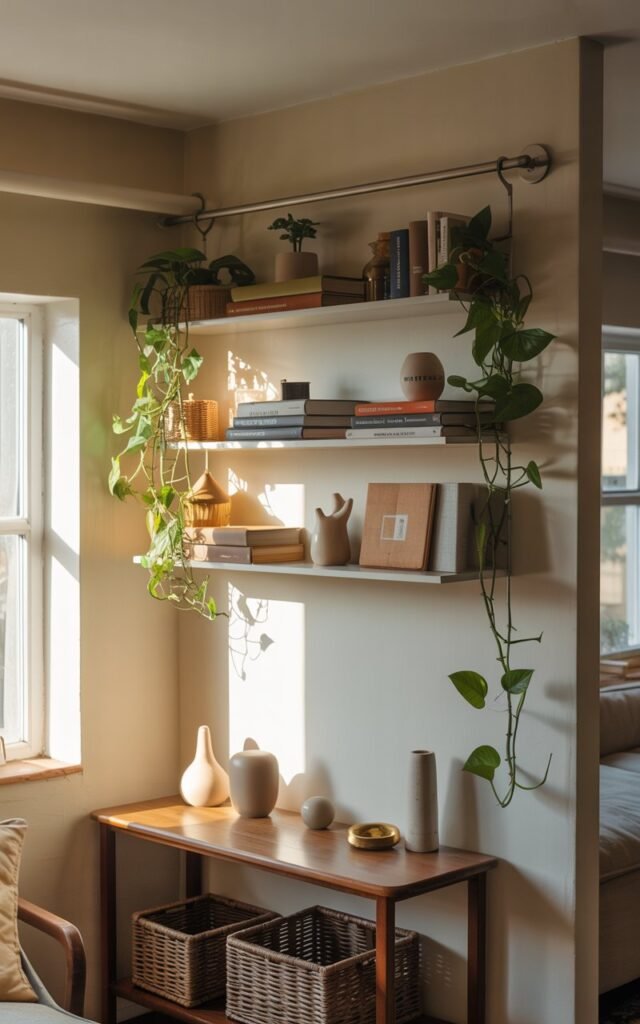
What started as a “let me just try this” moment turned into one of my favorite DIY upgrades in the house.
It looks intentional, saves space, and makes the room feel finished without feeling heavy.
If you’re someone who likes practical DIYs that actually work in real homes with real families, this one is worth trying.
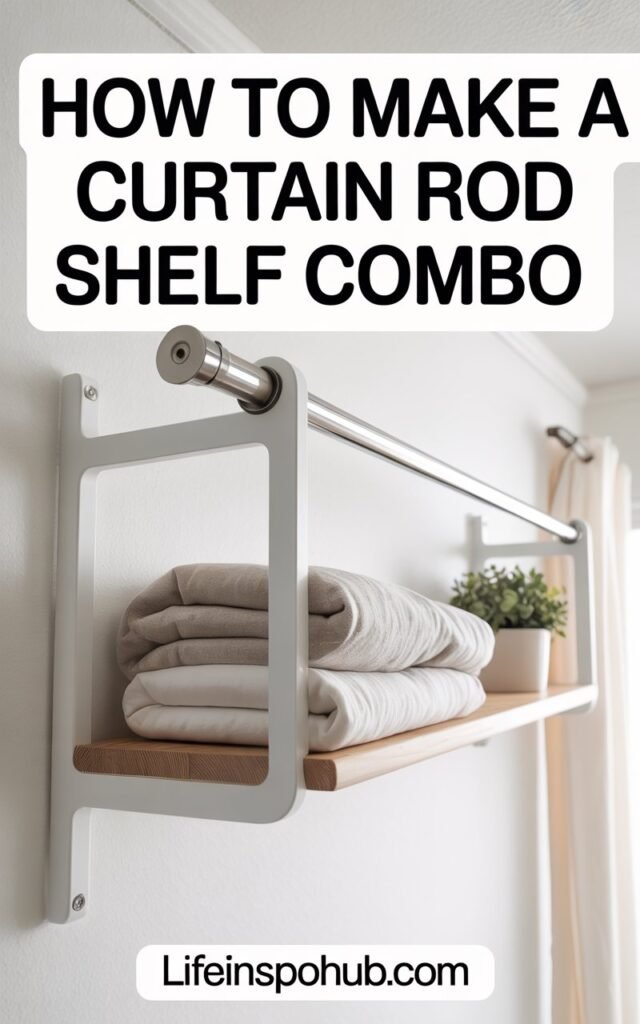
Why I Chose a Curtain Rod Shelf Combo
In my house, walls have to work hard.
I need them to be functional, easy to clean, and flexible enough to change with seasons and moods.
A curtain rod shelf combo checked all the boxes for me.
I loved that it:
- Combines storage and window treatment in one setup
- Makes small spaces feel taller and more styled
- Uses affordable materials I could find locally
- Doesn’t require advanced DIY skills
It’s also one of those projects that looks custom once it’s done, even though it’s surprisingly simple.
Where This Works Best in the Home
I’ve now used some version of this setup in more than one space, and it’s been useful every time.
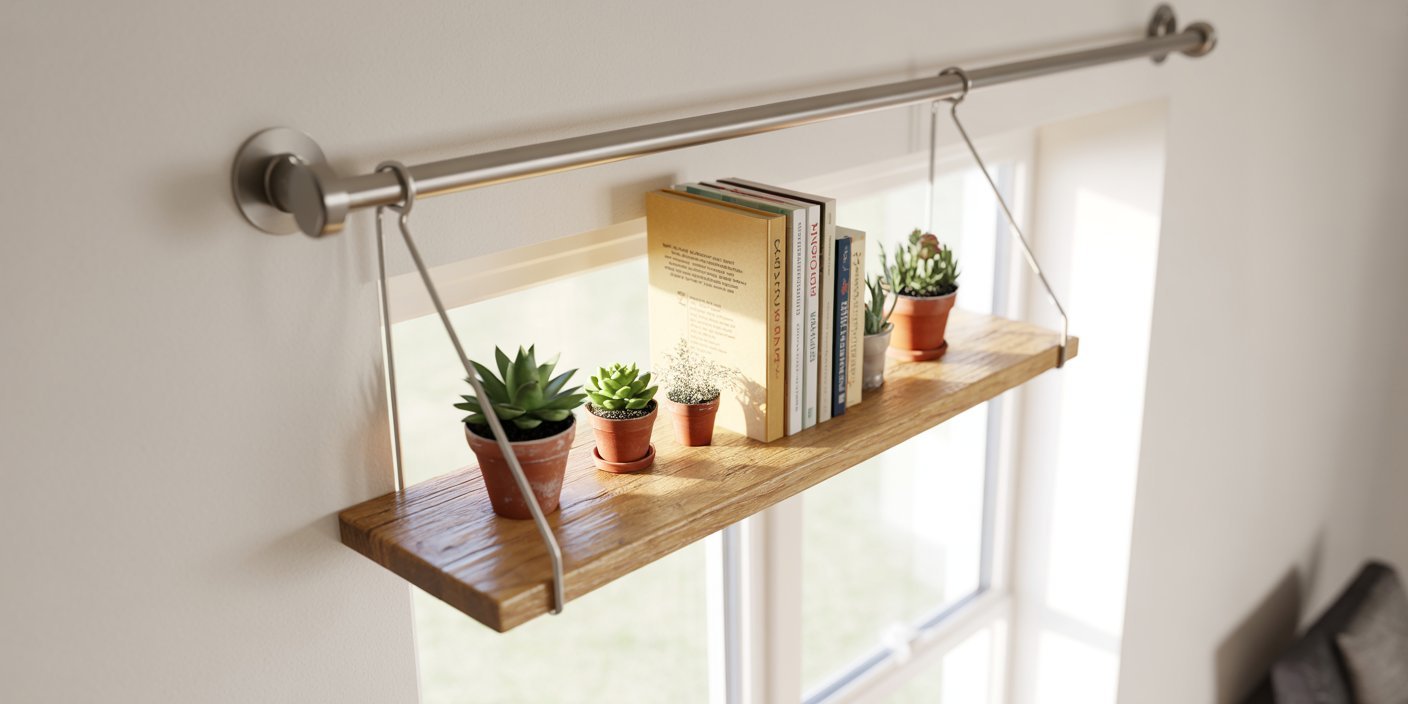
Living rooms benefit because the shelf adds a focal point above the curtains.
Bedrooms feel cozier with books or framed photos styled above the rod.
Kitchens and breakfast nooks work well if you use the shelf for lightweight decor or plants.
Even bathrooms can pull this off over a window if moisture-friendly materials are used.
If you’re short on wall space, this combo lets you do more without cluttering the room.
What You’ll Need Before You Start
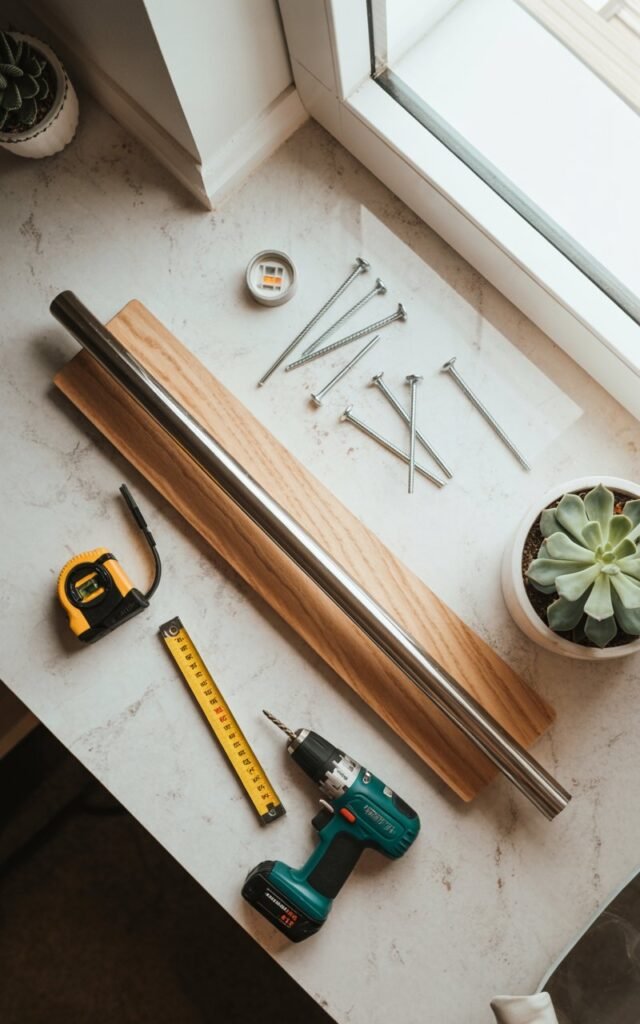
I always recommend laying everything out before you drill a single hole. It saves time and frustration.
You’ll need:
- A sturdy curtain rod
- Wall-mounted shelf or floating shelf
- Shelf brackets if your shelf needs support
- Wall anchors and screws appropriate for your wall type
- Measuring tape
- Level
- Drill
- Pencil for marking
I kept my shelf depth shallow so it wouldn’t overpower the window. That decision alone made the finished look feel balanced.
Step One: Measure With Intention
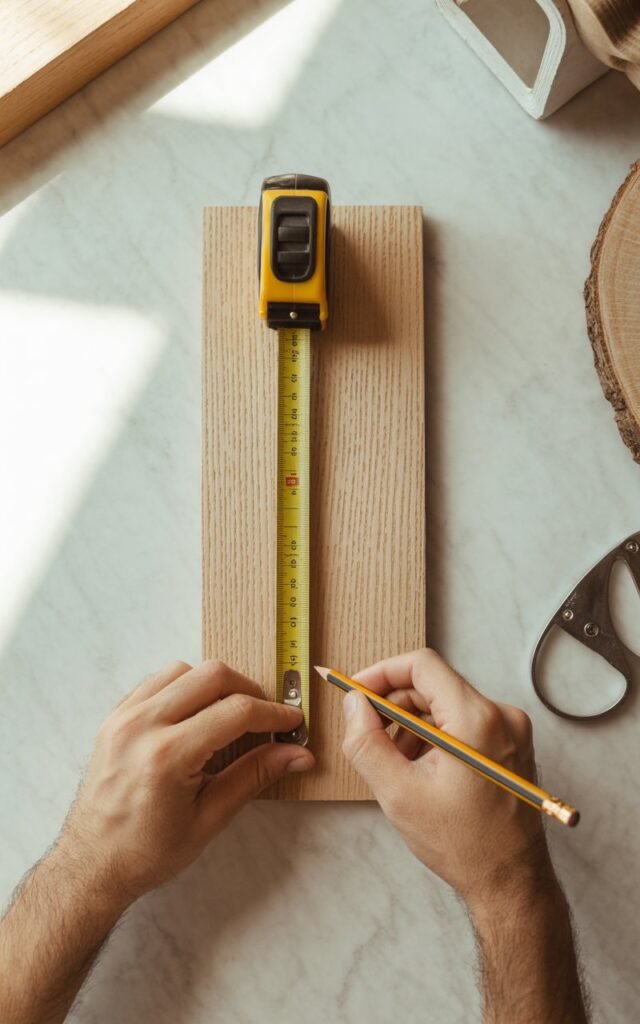
This is where I slowed down the most.
I measured the window width first, then decided how far past the window I wanted the curtains to extend. From there, I planned the shelf placement.
I left enough vertical space between the curtain rod and shelf so the curtains could move freely.
This is important because placing them too close together makes the setup feel cramped.
Once I was happy with the spacing, I marked everything lightly with a pencil.
I always step back at this stage and look at the wall from different angles before committing.
Step Two: Install the Shelf First
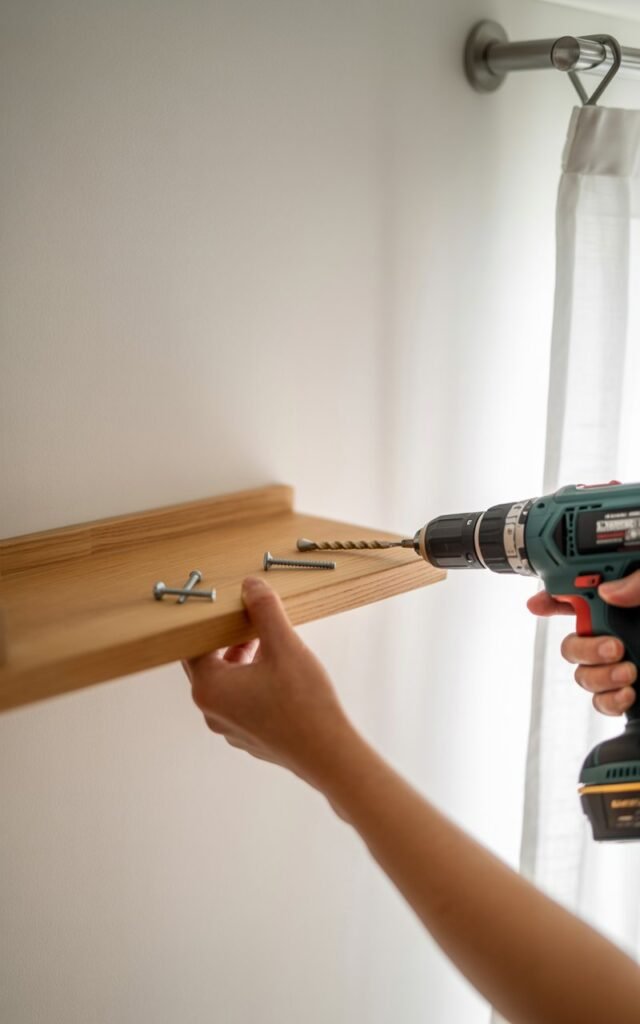
I learned early on that installing the shelf first makes the entire process easier.
The shelf becomes your visual anchor.
I mounted my shelf using wall anchors for extra security, especially since I planned to style a few heavier items on it.
I checked the level twice because nothing throws off a room faster than a crooked shelf.
Once it was secure, I gently tested it with my hands before moving on.
Step Three: Install the Curtain Rod Under the Shelf
With the shelf in place, installing the curtain rod felt straightforward.
I aligned the brackets evenly beneath the shelf and made sure they were centered with the window.
This step really brought everything together.
As soon as the rod went up, I could already picture the final look.
I hung the curtains temporarily just to make sure everything flowed well before tightening the hardware completely.
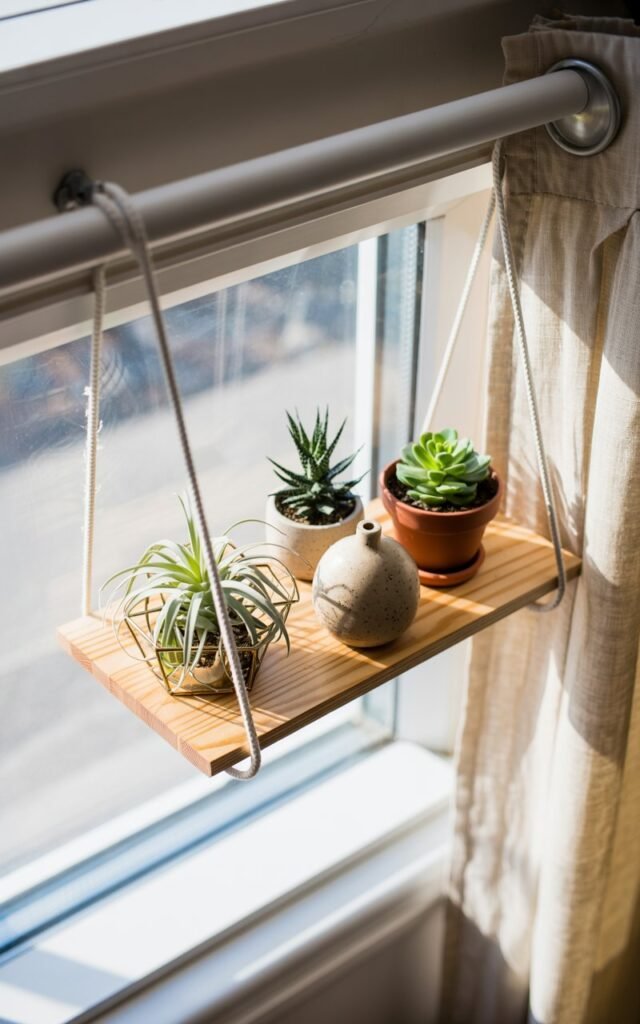
Step Four: Style the Shelf Like a Real Home, Not a Showroom
This is my favorite part, and where I see people overthink things.
I styled my shelf using items I already owned:
- A small trailing plant
- Two books stacked horizontally
- A framed photo
- A simple decorative object
I avoided overcrowding it. I like shelves that look lived-in, not staged.
If you’re in a home with kids or pets, keep breakables toward the center and heavier items secure.
Over time, I swap decor seasonally, which keeps the setup feeling fresh without doing another project.
Tips I Learned the Hard Way
Spacing matters more than perfection. Don’t rush measurements. Lighter shelves work better visually.
Always use anchors, even if you think you don’t need them.
And if something feels off, step away and come back later with fresh eyes.
This project doesn’t need to be flawless to look good. It just needs to feel intentional.
Why I’d Do This DIY Again
This curtain rod shelf combo gave me more than just storage.
It made the room feel layered and finished without spending a lot of money.
It’s one of those small upgrades that quietly changes how a space feels day to day.
Every time I open the curtains or dust the shelf, I’m reminded that some of the best home improvements don’t come from big renovations, but from creative solutions that fit how you actually live.
If you’re looking for a simple, practical DIY that adds both function and style, this is one I genuinely recommend trying.