I have a confession: the toilet has always been my least favorite part of cleaning. I’d scrub, spray, rinse, and then walk away feeling… meh.
For years, I relied on store-bought cleaners because they were easy, and I wanted quick results. But over time, I started noticing how strong the smells were — so strong that even the kids would wrinkle their noses.
I realized these products weren’t exactly family-friendly, and I didn’t like the idea of harsh chemicals lingering in our bathroom.
One rainy afternoon, while the kids were working on a craft project at the table and the dog was napping by my feet, I decided to finally try making a DIY toilet bowl cleaner gel.
I wanted something safe, effective, and simple enough to make in minutes without adding more clutter or stress to my day.
Honestly, I didn’t expect much the first time. But let me tell you, this little gel has completely changed how I tackle bathroom cleaning.
Why I Decided to Make My Own Toilet Gel
You know that feeling when you want something to be easy but also safe? That was me. I wanted a toilet cleaner that:
- Was safe around kids and pets, without harsh fumes
- Actually worked on stains and build-up
- Smelled fresh but natural, not chemically
- Was budget-friendly and easy to make
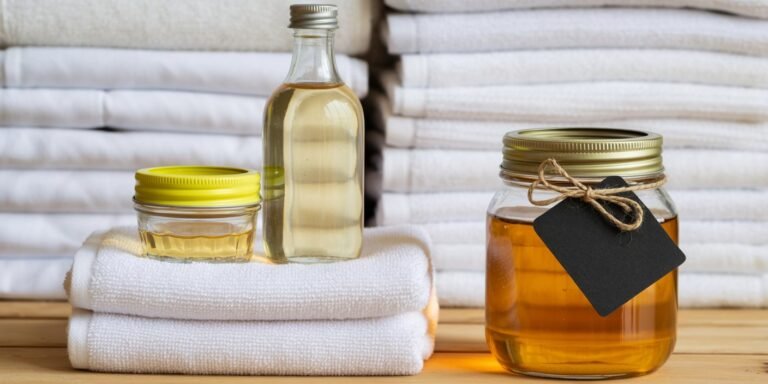
I also loved the idea of repurposing ingredients I already had at home. Baking soda, vinegar, a few drops of essential oil — simple, effective, and completely safe.
Making the gel also gave me a little sense of control. Cleaning can feel like a never-ending job in a busy household, and having a product I made myself added a small moment of pride to the routine.
How I Make My DIY Toilet Bowl Cleaner Gel
After a few trials and tweaks, I landed on a method that’s quick, reusable, and surprisingly satisfying. Here’s what I do:
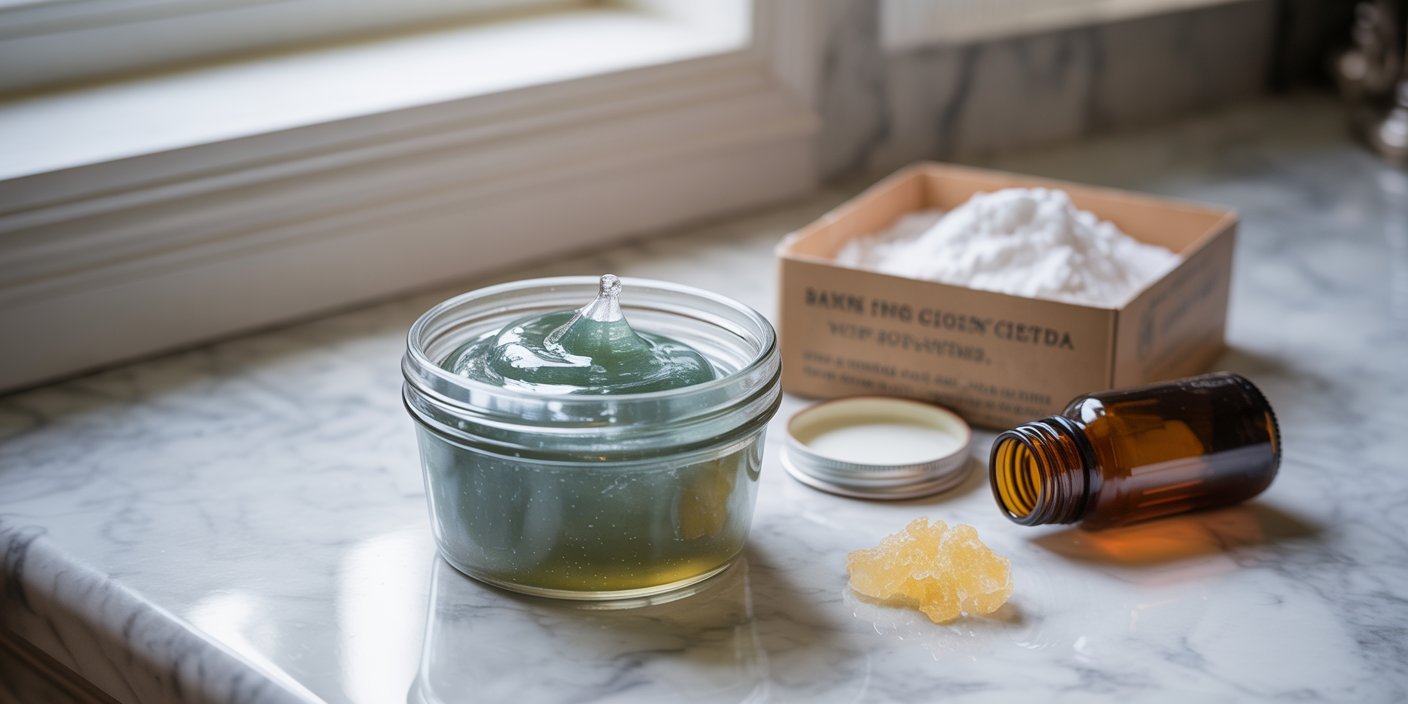
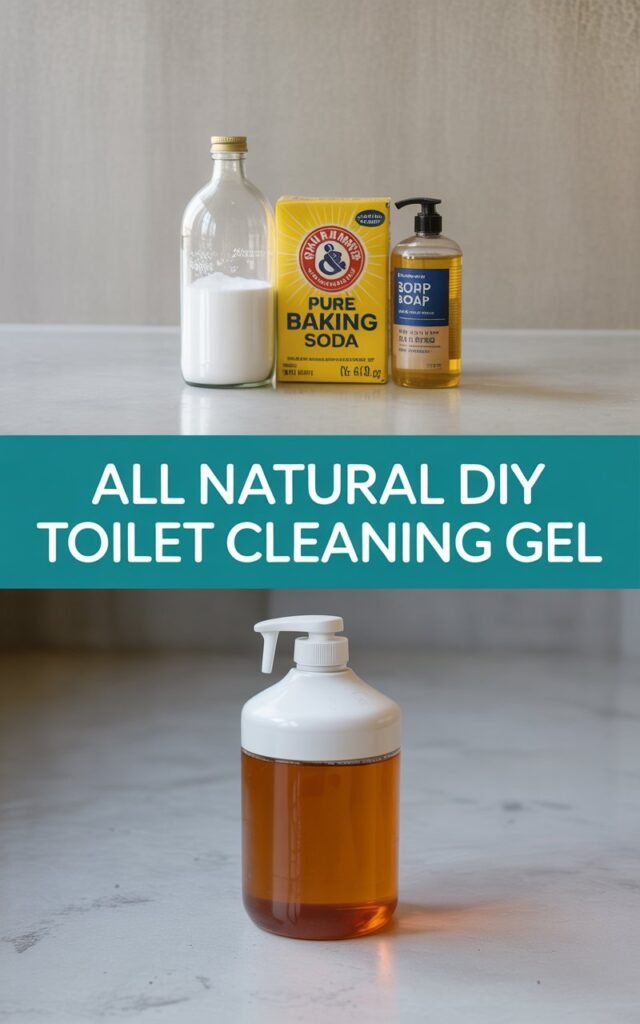
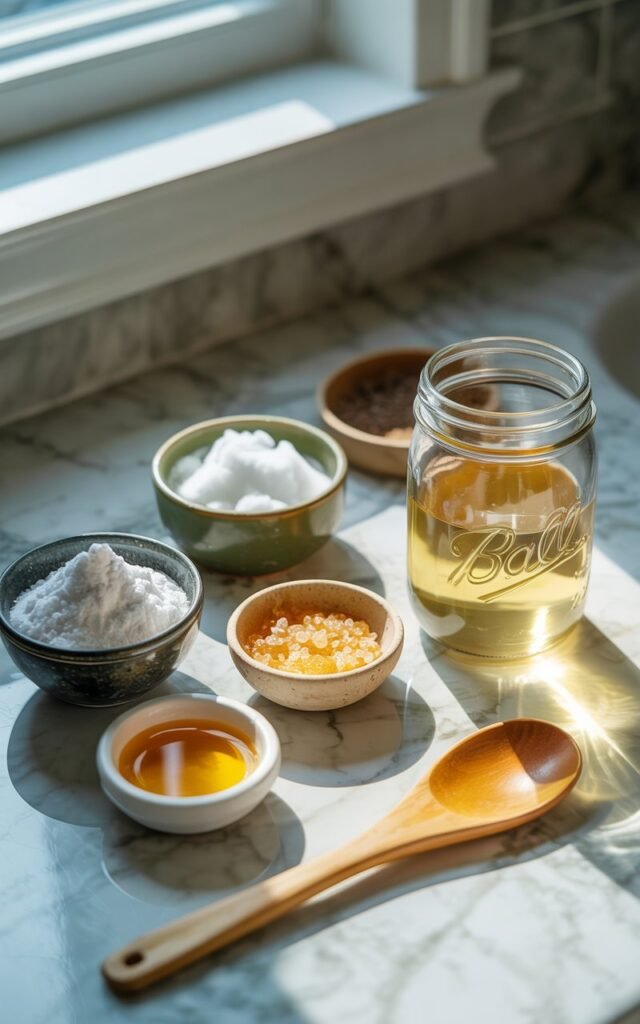
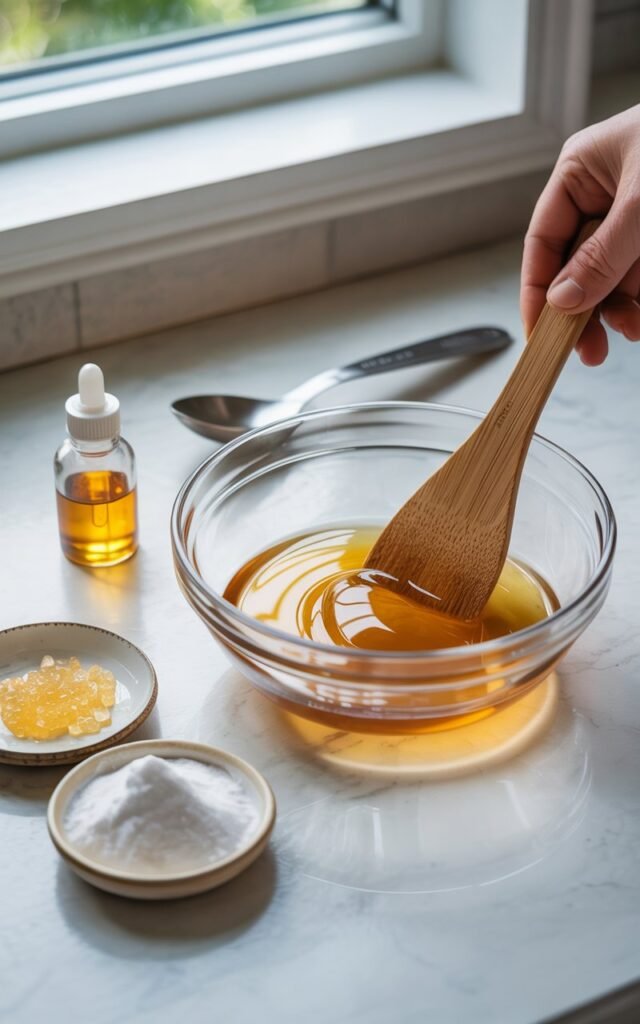
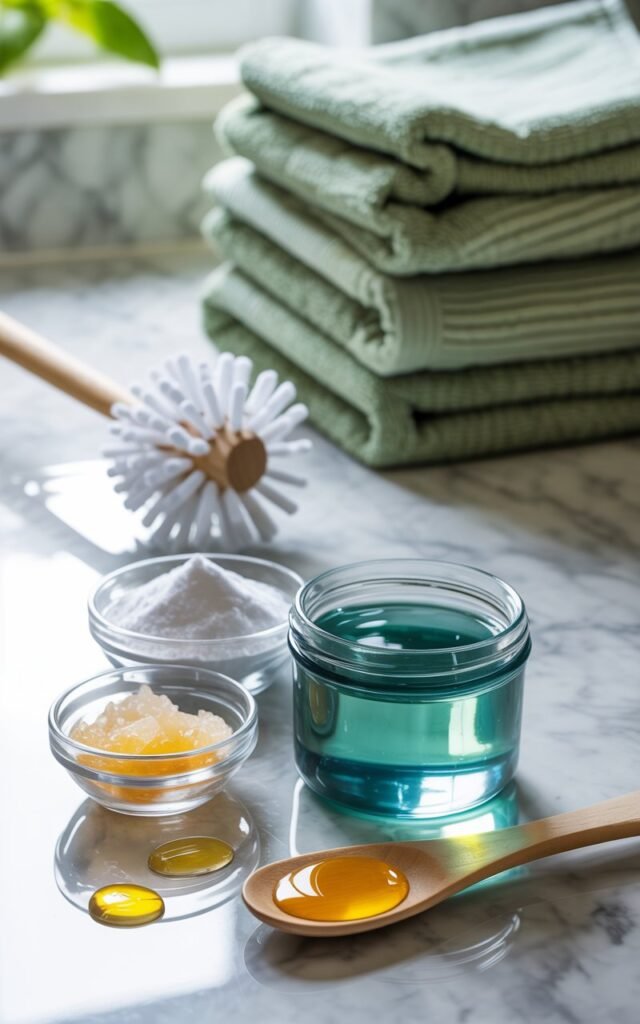
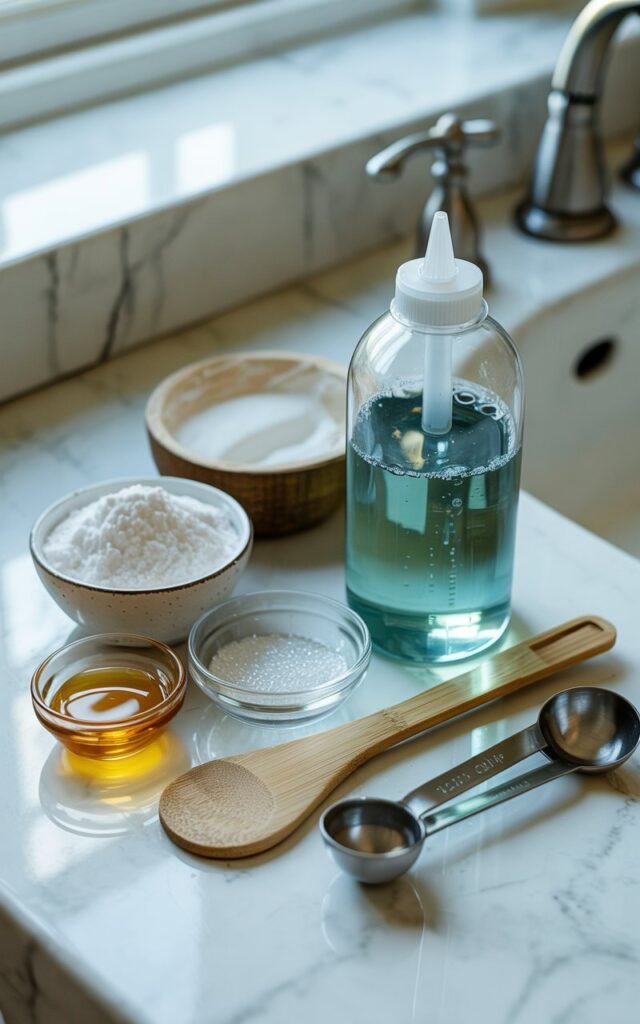
Ingredients:
- 1/2 cup baking soda
- 1/4 cup liquid castile soap
- 1–2 tablespoons white vinegar
- 10–15 drops essential oil (I like tea tree for antibacterial properties or lemon for a fresh scent)
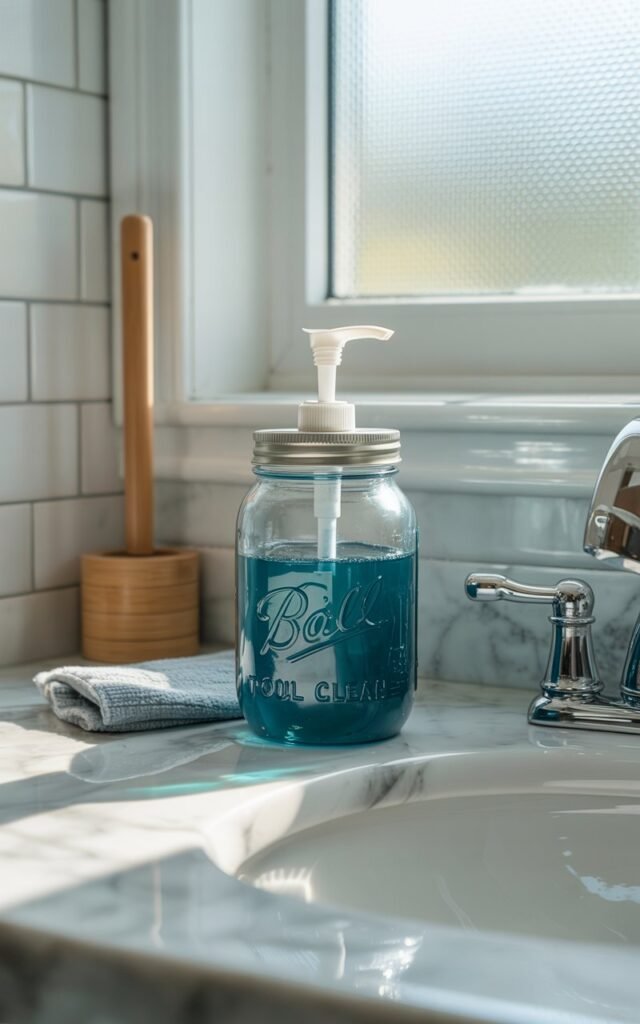
- A small container or squeeze bottle
Instructions:
- Mix baking soda and castile soap in a bowl until smooth.
- Slowly add vinegar and stir — it will fizz a little, but that’s normal.
- Add the essential oil and mix thoroughly.
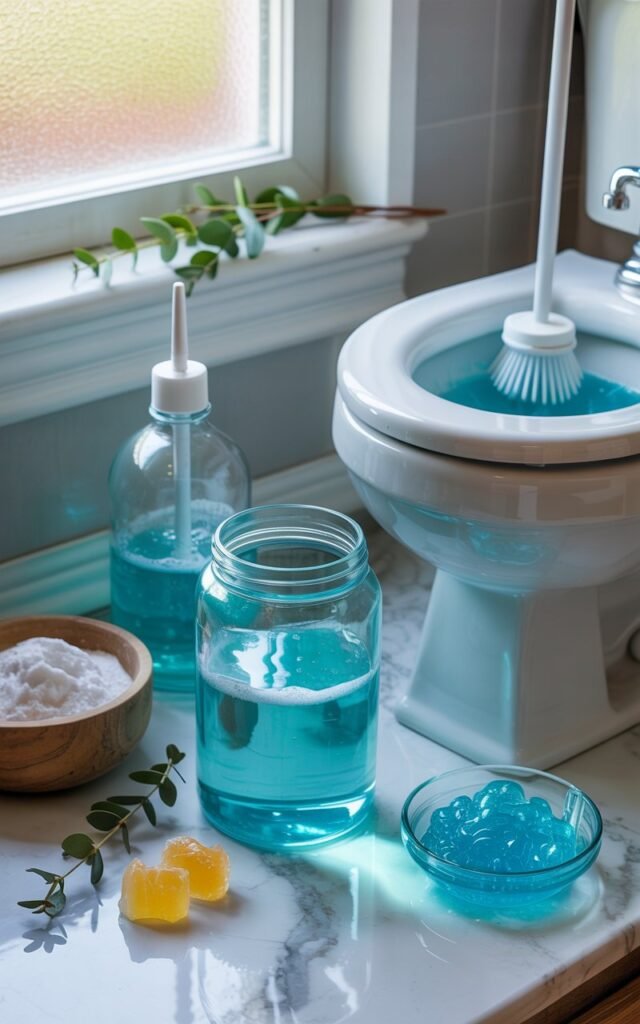
- Transfer the gel to a container or squeeze bottle for easy application.
When I clean, I squeeze a line under the rim and around the bowl, let it sit for a few minutes, then scrub with a toilet brush.
The gel clings to the surface, helping lift stains naturally. It’s powerful enough to get the job done but gentle on surfaces and skin.
Making Cleaning Less of a Chore
What I love about this gel is how it fits into real, busy life. Some days, I’m juggling breakfast for the kids, laundry, and answering emails while the dog nudges my leg for attention.
On those mornings, I can grab my DIY gel, apply it in the toilet, and move on to other tasks while it works its magic.
One of my favorite little routines is involving my kids. They enjoy helping me squeeze the gel around the bowl while I scrub.
It’s messy and silly, but it makes cleaning feel less like a chore and more like a small family activity.
Sometimes, my son asks if the gel has “magic powers” because it makes the toilet sparkle without harsh smells — which, in a way, it does!
Extra Benefits I’ve Noticed
Over time, I realized this DIY gel isn’t just safer — it has a bunch of practical benefits:
- Chemical-Free: No worries about my kids or dog accidentally touching harsh chemicals.
- Effective: Baking soda and vinegar naturally lift grime and stains.
- Customizable Scent: Essential oils let me adjust the fragrance depending on my mood — lavender for calm, lemon for fresh mornings, or eucalyptus when I want a spa-like bathroom.
- Cost-Saving: I can make a batch for just a few dollars, which lasts weeks.
- Eco-Friendly: No extra packaging, and I can reuse containers.
- Fun to Make: Involving the kids makes it a creative project.
- Quick to Use: Easy enough to grab while multi-tasking or during a short cleaning break.
Different Ways I Use This Gel
I also found that it’s not just for deep cleaning the toilet bowl. On lighter days, I use a small dab to freshen the rim or clean the seat.
On weekends, I’ll apply a little gel to the brush, let it sit, then scrub and rinse for a deeper clean.
The gel also works well if I want to clean the kids’ bathroom quickly before guests arrive — no harsh chemicals, just fresh-smelling cleanliness.
Sometimes, I even tweak it for seasonal scents. During the holidays, a few drops of cinnamon or clove essential oil make the bathroom feel cozy.
In spring, lavender and lemon feel fresh and light. Small changes like this make the task more enjoyable and even a little fun.
Tips I’ve Learned
- Air-tight storage: Keeps the gel fresh and ready for the next cleaning session.
- Use gloves if you have sensitive skin: Baking soda and soap are mild but can dry hands over time.
- Try different essential oils: Tea tree, lemon, eucalyptus, or even peppermint for a fresh kick.
- Small batches work best: The gel stays effective and fresh, and I can tweak recipes easily.
- Let it sit: A few minutes on stubborn stains makes scrubbing much easier.
Final Thoughts
Making my own DIY toilet bowl cleaner gel has transformed a mundane chore into something simple, safe, and even enjoyable.
It fits seamlessly into my busy life with kids, pets, and a full household. The best part? Knowing my home is cleaner without harsh chemicals.
It’s a small change that makes a big difference. Laundry smells fresher, the bathroom looks cleaner, and I don’t feel guilty about exposing my family to strong chemicals.
Plus, involving the kids makes it a shared household task that’s surprisingly fun.
If you’ve been thinking about switching to natural cleaning alternatives, this DIY gel is one of the easiest projects to start with. It’s effective, customizable, and something you can feel proud to make — even on your busiest days.