Hi there, it’s Joyna from lifeinspohub.com, and today I’m sharing one of my favorite cozy home projects: DIY cinnamon candles.
These candles are warm, comforting, and perfect for fall, winter, or anytime you want your home to smell inviting and natural.
I love making my own candles because I can control the ingredients, choose natural scents, and customize each jar exactly how I like it.
In this post, I’ll walk you through everything I use and every step I follow, just as I make them at home.
If you’re new to candle making, don’t worry.
This is a beginner-friendly project, and once you’ve made one candle, the rest feel easy and relaxing.
Why I Love Making My Own Cinnamon Candles
I originally started making my own candles because I wanted more control over the ingredients.
Many commercial candles contain synthetic fragrances, and I found that some of them were overpowering or irritating.
Making my own allows me to choose natural waxes, adjust the scent strength, and create something that feels truly personal.
Cinnamon candles, in particular, are special because they add warmth without being overwhelming.
They’re perfect for everyday use, seasonal decor, or even gifting.
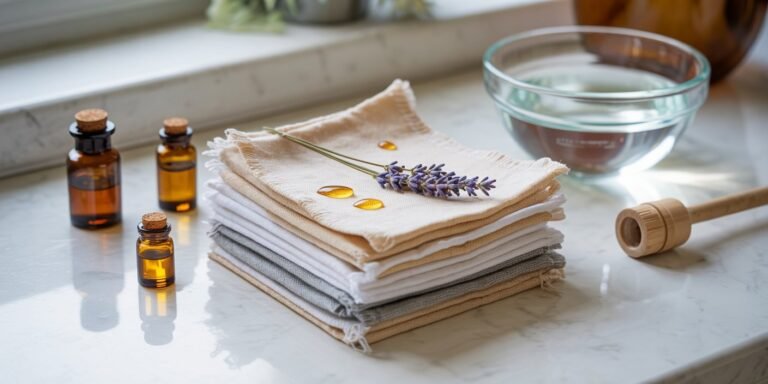
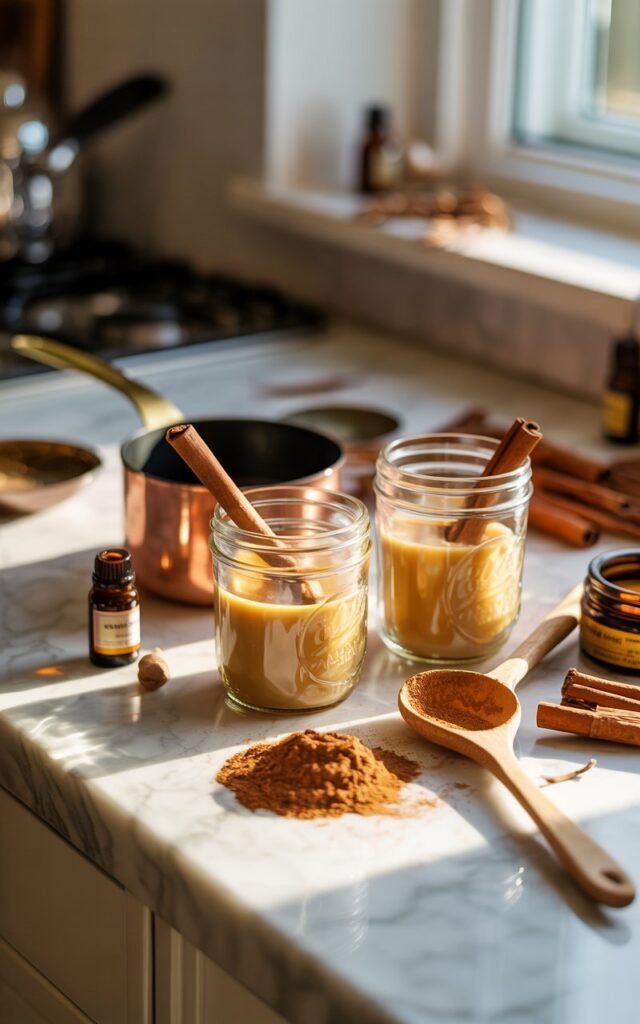
Ingredients and Supplies I Use

Before I begin, I like to gather everything and have it laid out on my work surface.
It makes the process feel calm and enjoyable rather than rushed.
Here’s what I use when making these cinnamon candles:
Cinnamon powder
Cinnamon sticks
Star anise
Wooden pegs
Beeswax
Soy wax flakes
Empty glass jars
Natural, organic essential oils (I use cinnamon essential oil)
Candle wicks
Wax buttons for securing the wicks
For my beeswax, I buy directly from a local beekeeper.
Mine comes in sheets, which I simply tear into smaller pieces to help them melt evenly.
Beeswax pellets also work perfectly if that’s what you have available.
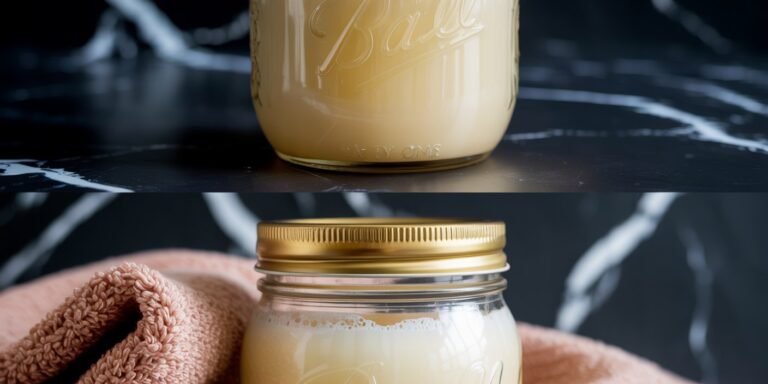
Preparing the Wax Safely Using a Double Boiler
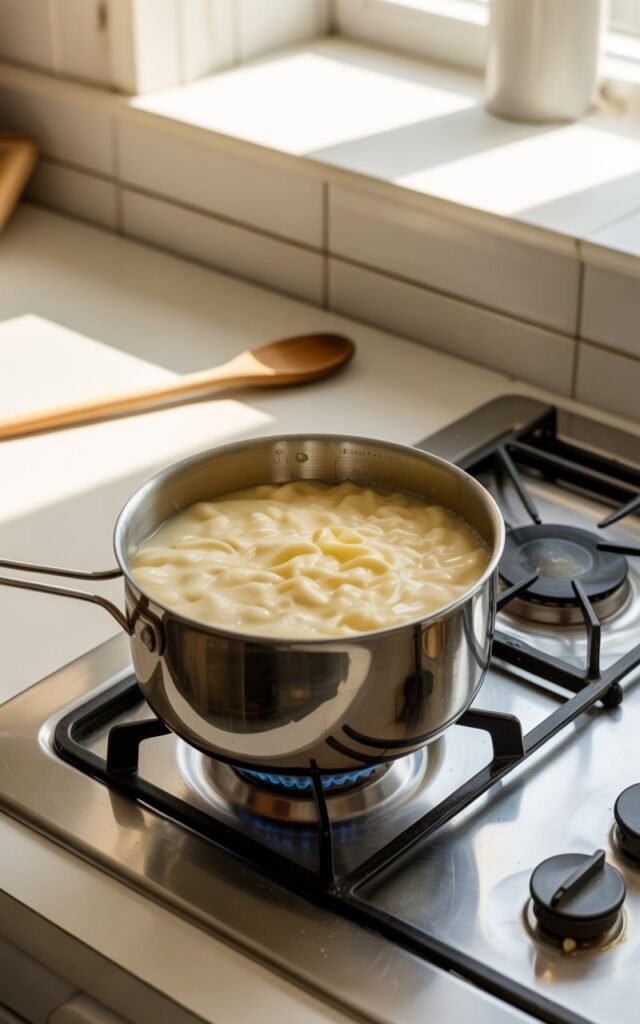
Wax should always be melted gently, and the safest way to do this is using a double boiler method.
I start by placing a small saucepan on the stove with a very small amount of water.
I bring it to a gentle simmer, not a rolling boil.
Then I place a heat-safe glass jug over the saucepan, making sure it doesn’t touch the bottom of the pan.
This step is important because direct heat can cause wax to scorch.
To measure the soy wax, I use one of the candle jars. Filling the jar twice with soy wax flakes gives me enough wax to make one candle.
I pour the flakes directly into the glass jug and allow them to melt slowly, stirring occasionally to help everything melt evenly.
Cleaning and Prepping the Candle Jars
While the wax melts, I take time to prepare my jars.
Even after removing labels, there’s often sticky residue left behind, especially on the lids.
To remove it, I add a small drop of olive oil to the sticky area and sprinkle on baking soda. I rub it in well until the glue starts to lift.
For stubborn spots, I gently scratch them away using my fingernail. If you don’t want to do that, a small scraper works just as well.
Once the glue is gone, I rinse the lids under hot water. This simple method leaves the jars clean and ready to use.
Fixing the Wick in Place
A centered wick makes a big difference in how a candle burns, so I always take my time with this step.
I use small wax buttons to secure the wick to the bottom of the jar.
I attach one button to the metal base of the wick, then press it firmly into the center of the glass.
The wax button melts slightly when hot wax is poured in, helping the wick stay anchored.
To keep the wick upright while the candle sets, I place a wooden peg across the top of the jar and position the wick in the groove.
This keeps it straight and centered as the wax cools.
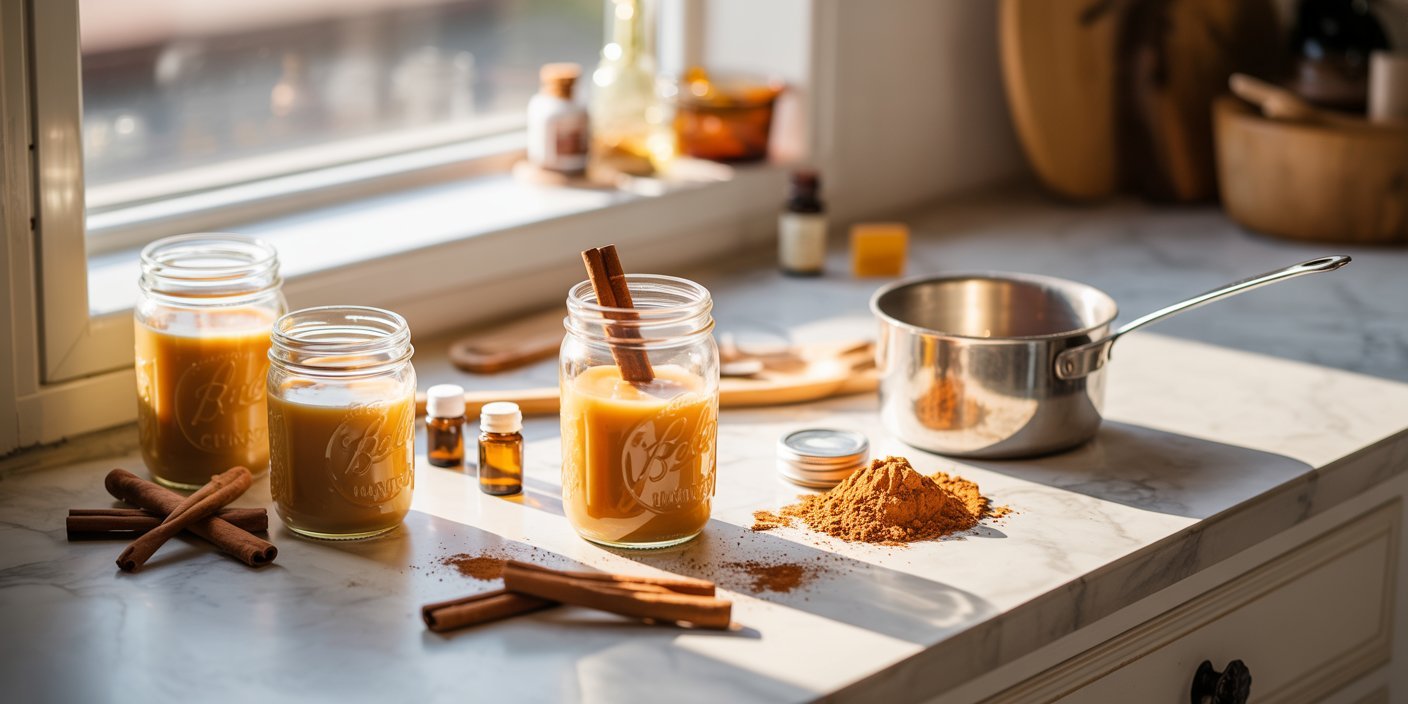
Scenting the Soy Wax with Cinnamon Essential Oil
Once the soy wax is fully melted, I remove it from the heat and place it on a heat-safe surface.
If you have a kitchen thermometer, it’s very helpful at this stage.
When the wax cools to about 150°F (65°C), it’s ready for essential oils.
Adding fragrance at the right temperature helps the scent bind properly to the wax.
For each candle, I add around 30 drops of cinnamon essential oil.
I stir slowly but thoroughly to make sure the scent is evenly distributed.
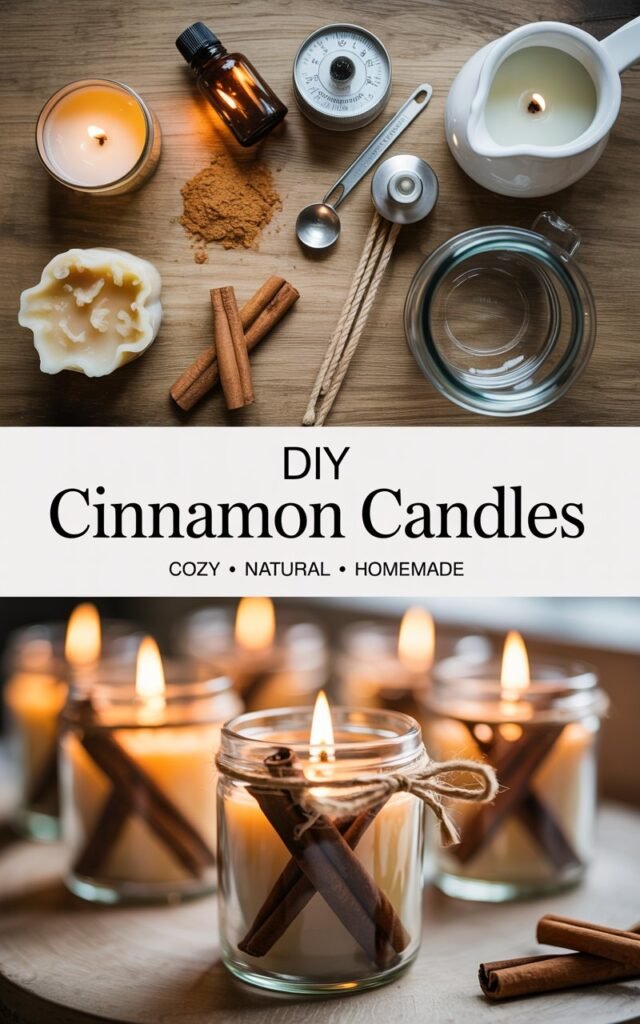
Pouring the Candle in Layers
I pour a small amount of scented wax into the bottom of the jar and allow it to cool slightly.
Before it fully hardens, I place four or five cinnamon sticks upright along the sides of the glass.
They naturally rest against the jar and add a beautiful visual detail.
As I continue pouring the wax, I work in layers.
This allows the wax to firm up enough to hold decorative elements in place.
Between layers, I sprinkle in chopped cinnamon bark so it doesn’t all sink to the bottom.
As the wax cools, it becomes opaque.
When I see that change, I know it’s the right time to add star anise and a little more cinnamon bark if there’s space.
I then fill the wax right up to the top of the jar.
Making a Beeswax Cinnamon Candle
The beeswax candle follows the same melting process, but the scenting method is slightly different.
Instead of using essential oil, I add one teaspoon of cinnamon powder directly into the melted beeswax.
I stir very thoroughly to make sure the cinnamon is fully incorporated and evenly distributed throughout the wax.
Once mixed, I pour the beeswax into the jar using the same layered technique.
For the final touch, I top the candle with a thin layer of pure beeswax without cinnamon, which creates a subtle ombre effect.
It’s a small detail, but it gives the candle a lovely finished look.
Letting the Candles Set and Final Thoughts
Once poured, I let the candles cool completely at room temperature.
I avoid moving them while they’re setting to prevent cracks or uneven surfaces.
When they’re finished, the candles smell warm, natural, and comforting.
I love how each one turns out slightly different, which makes them feel truly handmade.
If you’re thinking about making these DIY cinnamon candles yourself, I recommend reading through everything first and taking your time.
Candle making is meant to be relaxing, not rushed.
Thank you for being here and for following along with one of my favorite homemade projects.
I hope this inspires you to try making your own candles and enjoy the process as much as I do.