Making your own wax melts at home is easier than you might think, and it’s a great way to customise fragrances for your space or create thoughtful handmade gifts.
In this guide, I’m walking you through exactly how to make wax melts using clamshell moulds, using soy pillow wax, fragrance oil, and simple candle-making tools.
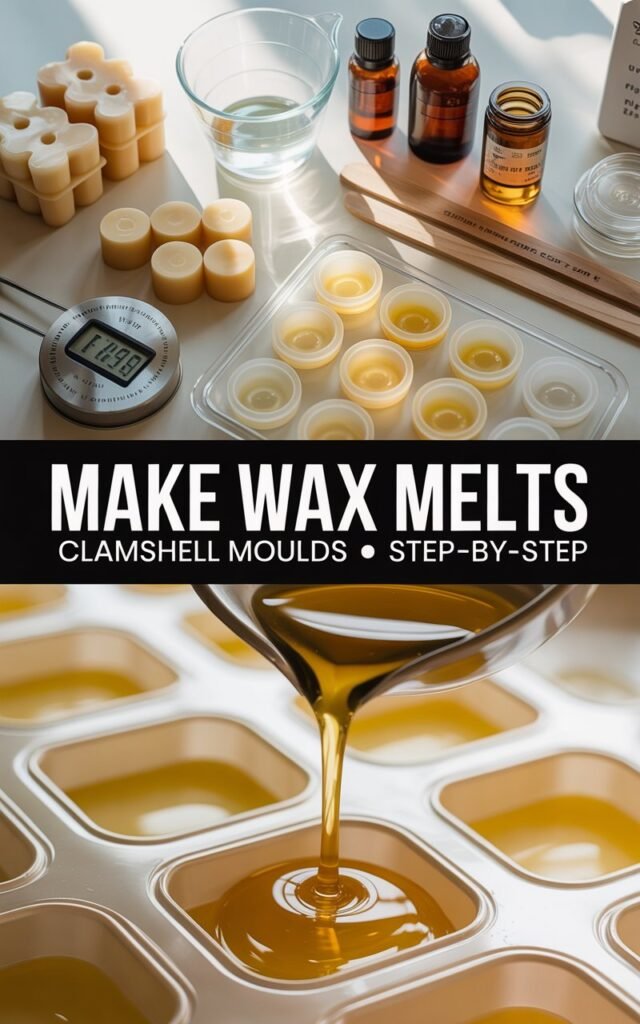
This method is beginner-friendly, doesn’t require advanced equipment, and produces smooth, beautifully scented wax melts that work perfectly in standard wax warmers.
I Recommend These Amazon Essentials for Making Wax Melts
1. Soy Wax or Paraffin Wax
I recommend this as the base for smooth, long-lasting wax melts.
2. Clamshell Silicone Moulds
I recommend these for creating perfectly shaped wax melts every time.
3. Essential Oils or Fragrance Oils
I recommend these to add your favorite scents and create a relaxing atmosphere.
4. Double Boiler or Wax Melting Pot
I recommend this for safely melting wax without burning or overheating it.
5. Pouring Pitcher & Stirring Utensils
I recommend these for precise pouring and evenly mixing fragrance into the wax.
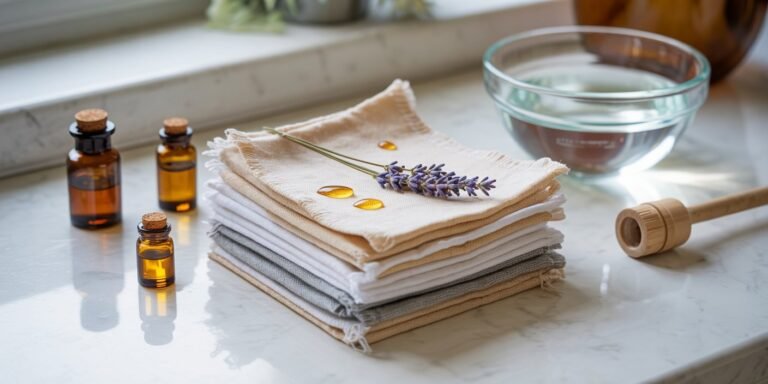
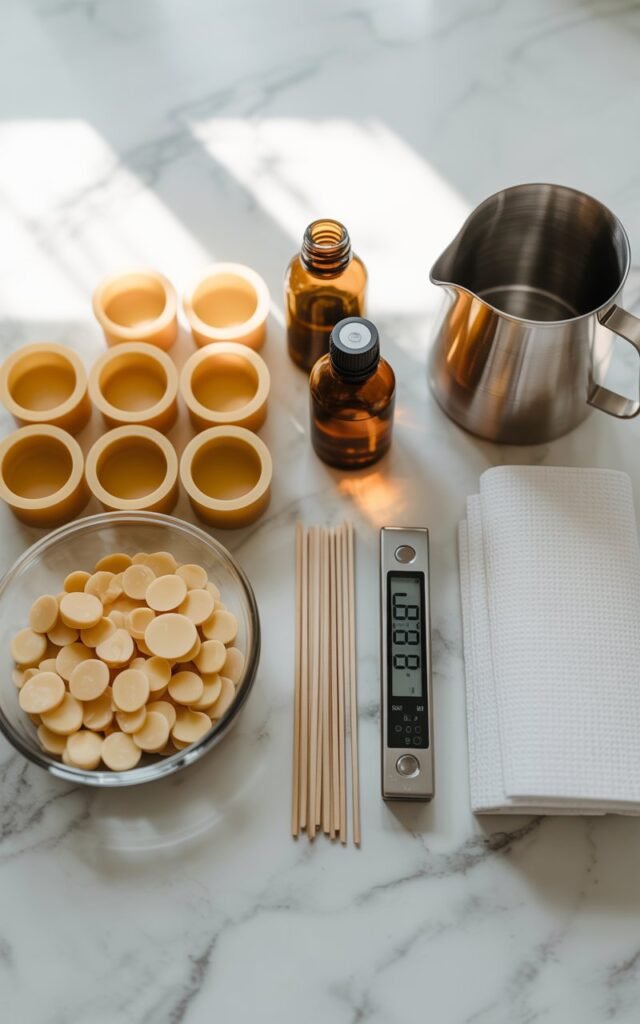
What You’ll Need to Make Wax Melts
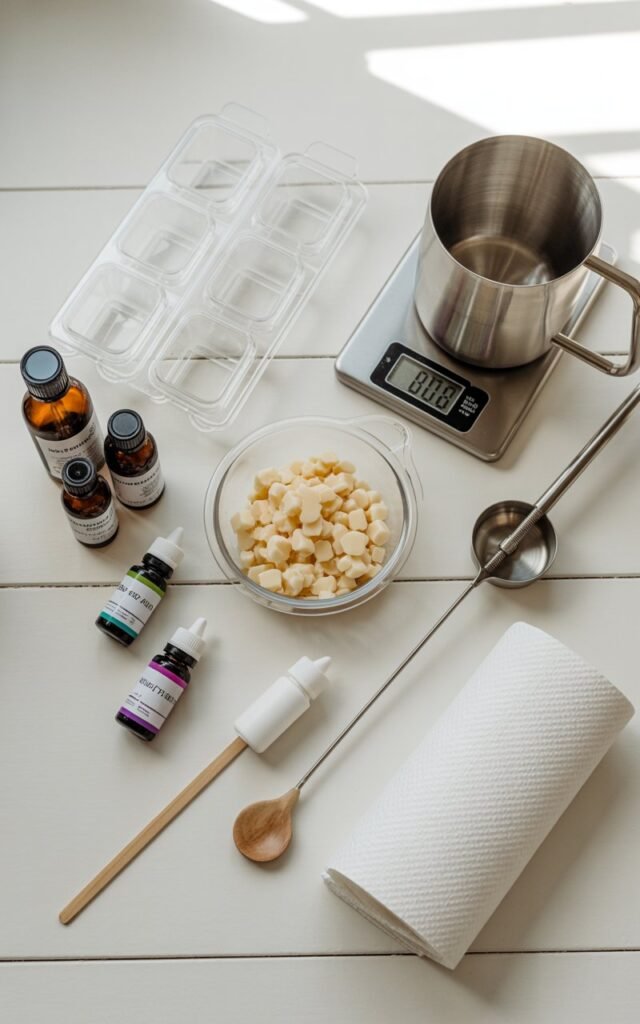
Before you begin, it’s important to have everything laid out and ready. This helps keep the process smooth and ensures your wax is poured at the right time.
Supplies Used
- Soy pillow wax
- Electric weighing scale
- 50ml fragrance oil (Fresh Linen was used here)
- Cream dye (in shard form)
- Star clamshell moulds
These are slightly larger and a little different from standard clamshells. - Melting pot
- Wooden spoon
- Thermometer
Measuring the Wax and Fragrance Ratio
Using your weighing scales, measure out 600g of soy pillow wax.
A good working ratio for wax melts is 2:1, which means:
- 600g wax
- 50ml fragrance oil
This ratio provides a strong scent throw without overloading the wax.
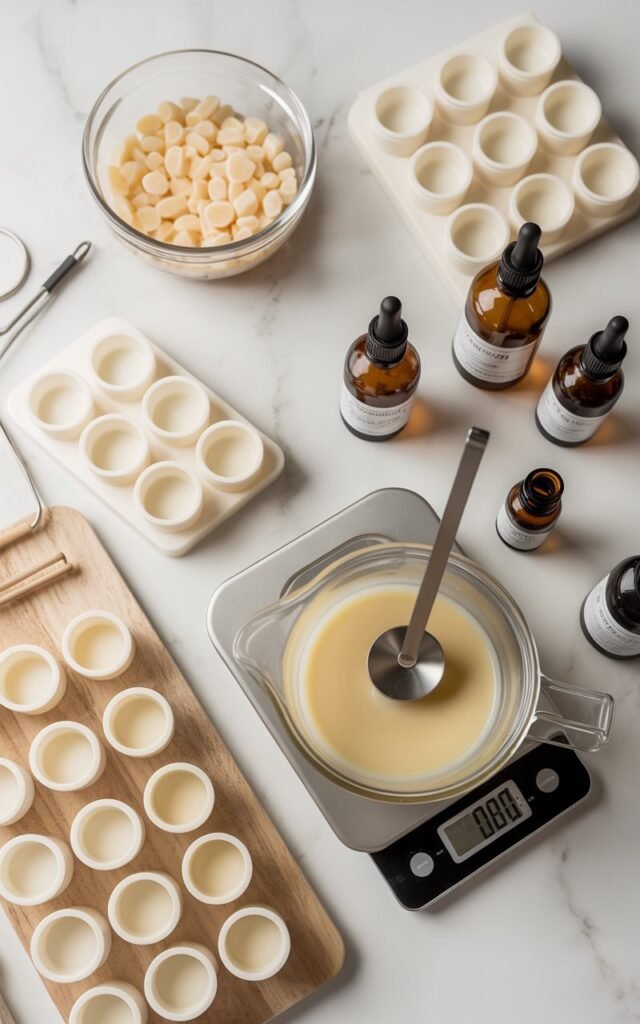
Once measured, place the wax into your melting pot and set it over medium heat.
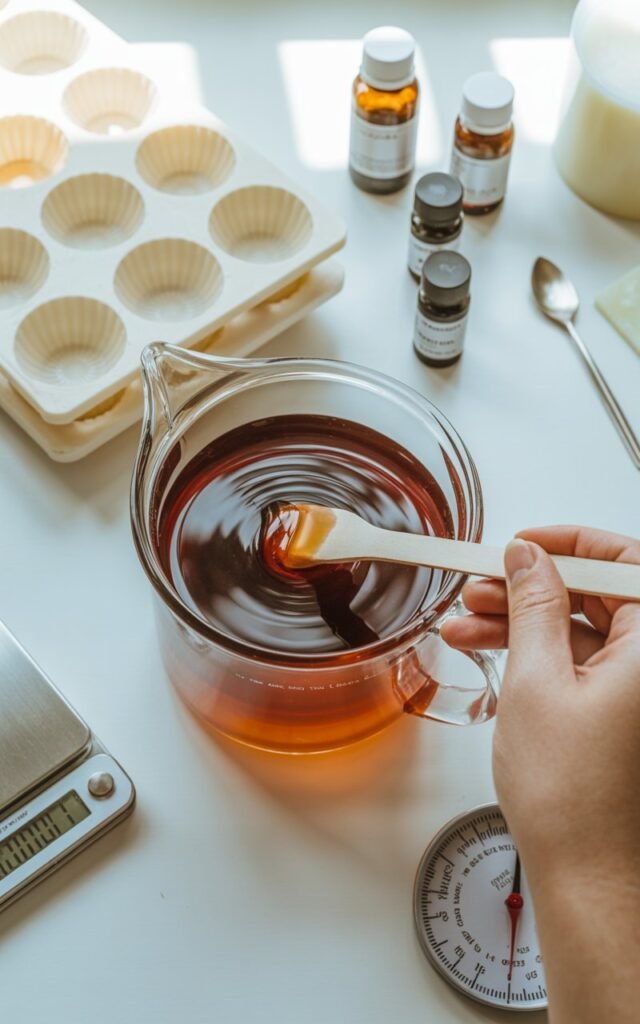
Melting the Wax Properly
Allow the wax to melt until it has reduced to about halfway melted, then lower the heat and let it gently simmer.
At this stage:
- Don’t worry too much about exact temperature
- Focus on letting the wax melt fully and evenly
Once completely melted, remove the wax from the heat and check the temperature.
It will usually be quite high at this point, which is normal.
Cooling the Wax Before Adding Colour and Fragrance

Let the wax cool off the heat for a few minutes.
The goal temperature is 65°C.
Once the wax reaches 65°C, it’s ready for colour and fragrance to be added.
Adding Colour to the Wax
For this batch, only a very small pinch of cream dye is used.
Because the fragrance is Fresh Linen, a soft, almost-white finish works best. Add the dye gradually:
- Start with a small pinch
- Allow it to melt fully
- Add a tiny extra pinch if needed
Stir thoroughly so the colour distributes evenly.
The wax should remain very light in colour, which is exactly what you want for clean, fresh fragrances.
Adding Fragrance Oil

Once the colour is fully mixed in, add the entire 50ml of fragrance oil.
Stir continuously to ensure:
- The fragrance is evenly distributed
- No oil settles at the bottom
Keeping the wax on low heat during this step helps prevent it from cooling too quickly.
When the wax reaches around 60°C, it’s time to pour.
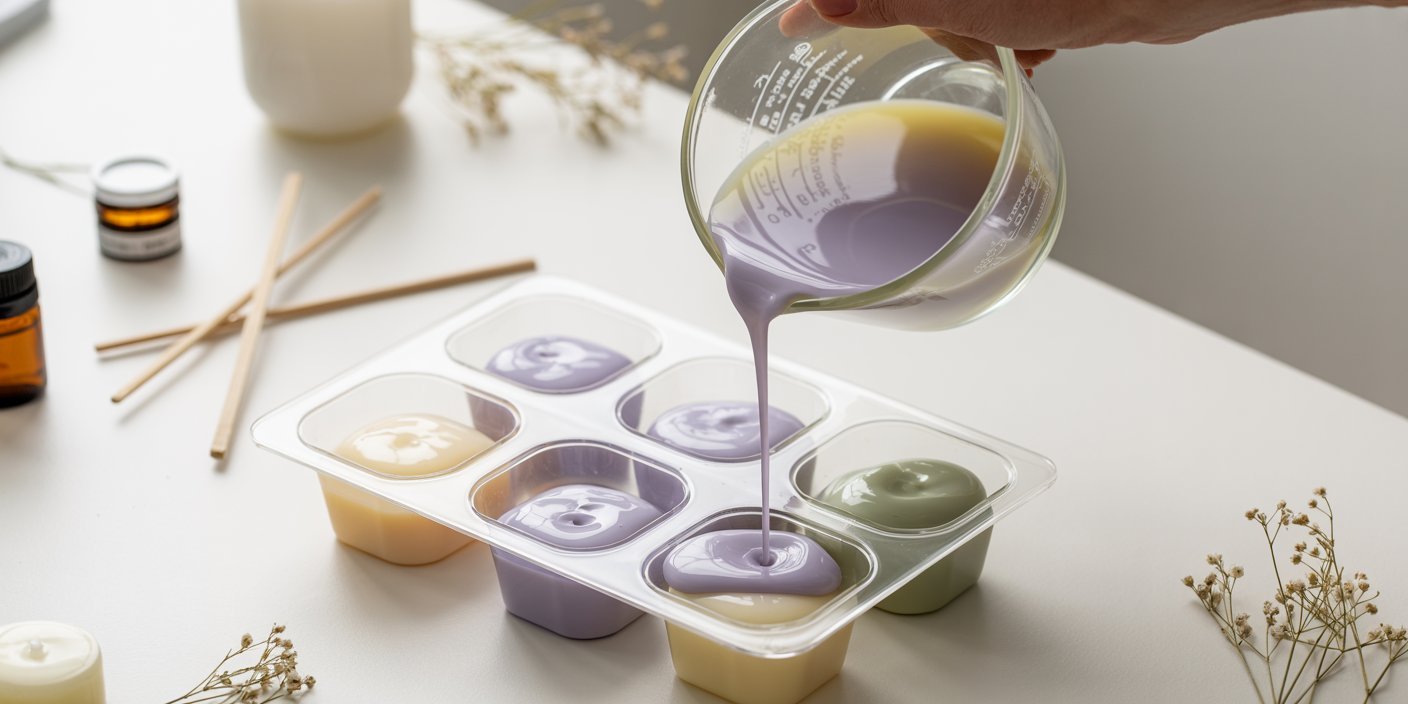
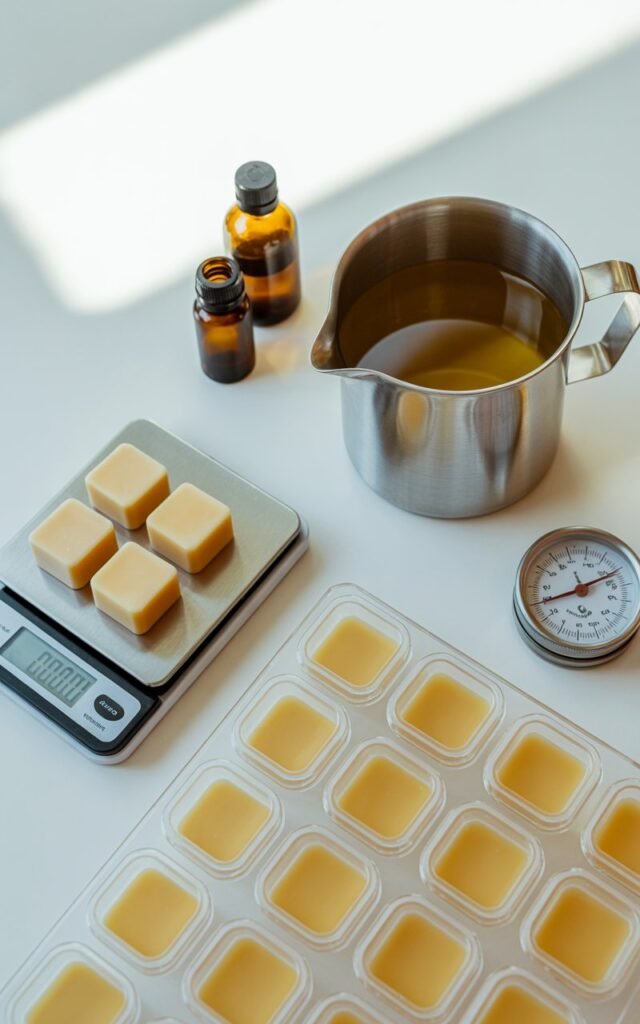
Pouring Wax Into Clamshell Moulds
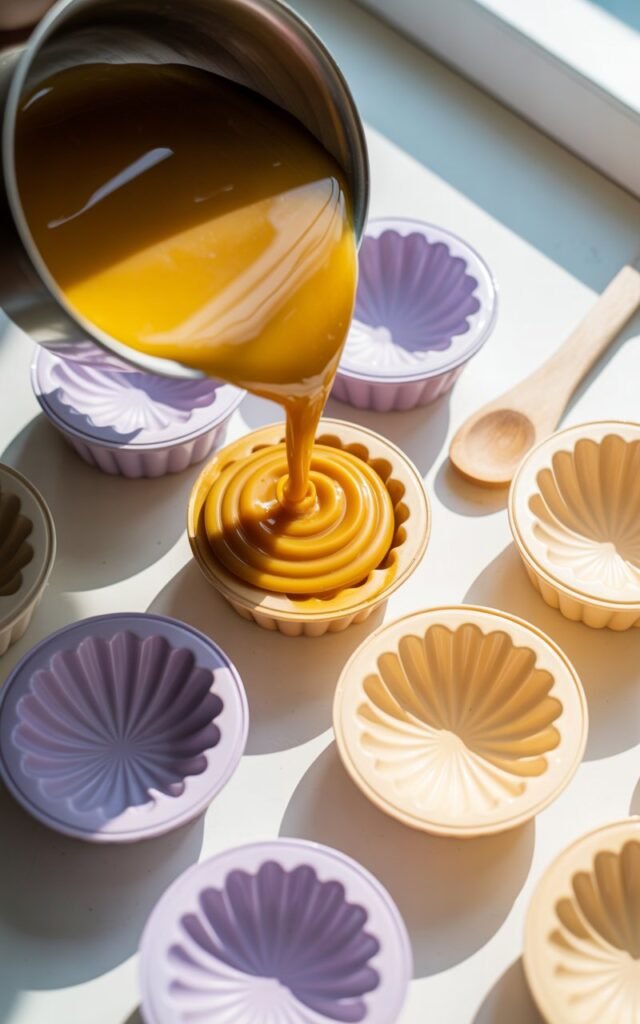
Carefully pour the wax into your clamshell moulds.
There’s no special pouring technique required—just take care not to overfill.
A helpful tip:
- Fill each mould slightly under the top
- Leave a small gap
After about 30 minutes, return and top them up.
This helps ensure the wax sets flat and smooth on top, which improves the finished look.
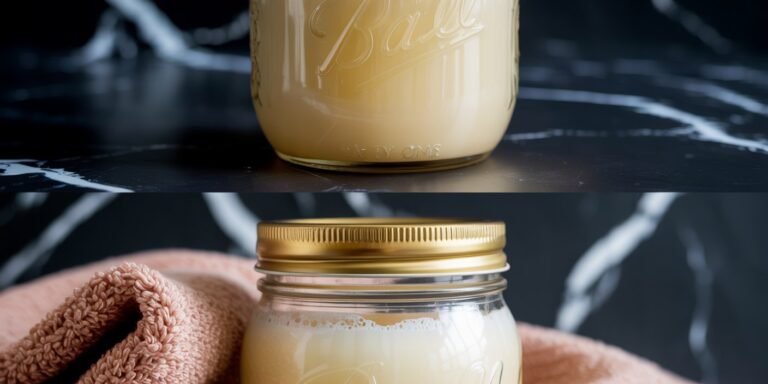
Setting and Curing Time
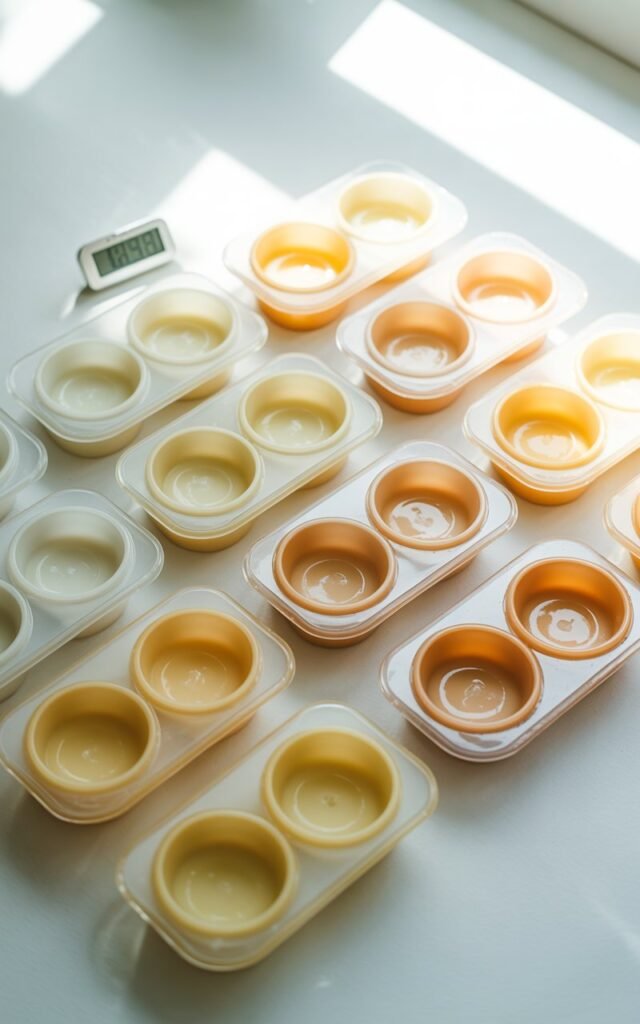
Once filled:
- Leave the clamshells overnight to fully cool and flatten
- After 24 hours, the wax melts are ready to use
How to Remove and Use Wax Melts
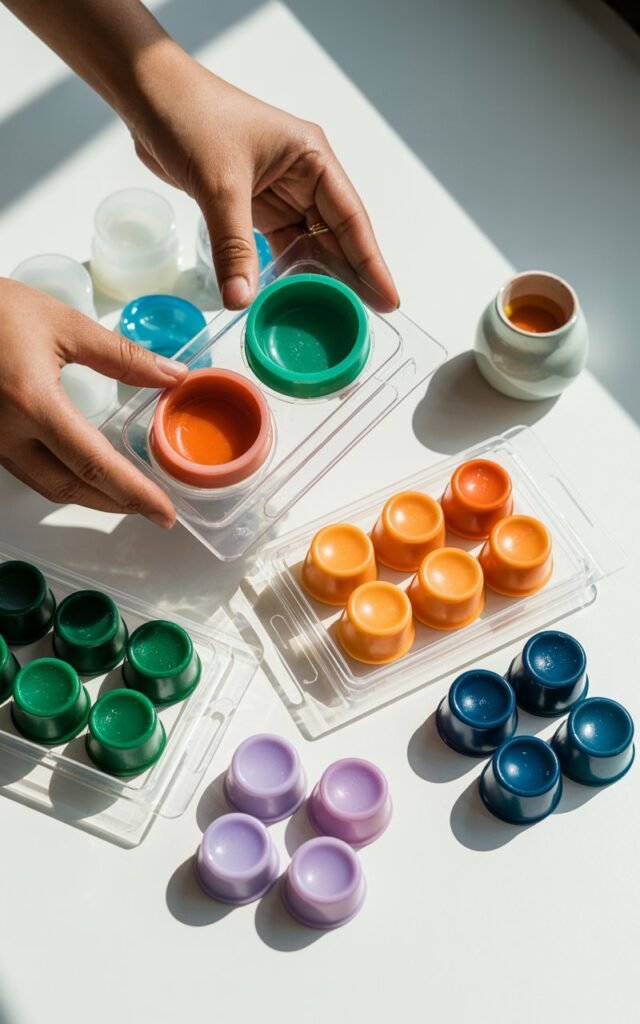
To remove the wax melts:
- Gently squeeze the bottom of the clamshell
- The wax will pop out easily into your hand
The clamshell works like a chocolate bar—simply snap off one segment.
To use:
- Place one wax melt cube on top of your wax burner
- Light a tea light underneath
- Enjoy a beautifully scented room as the wax melts and releases fragrance
Final Thoughts
Making wax melts with clamshell moulds is a simple, satisfying process that delivers professional-looking results.
By using soy pillow wax, the correct fragrance ratio, and pouring at the right temperature, you’ll end up with smooth, highly scented wax melts that perform beautifully.
Whether you’re making them for yourself, as gifts, or even as part of a small business, this method is reliable, repeatable, and easy to master.
Ta-da! Your homemade wax melts are ready to enjoy.