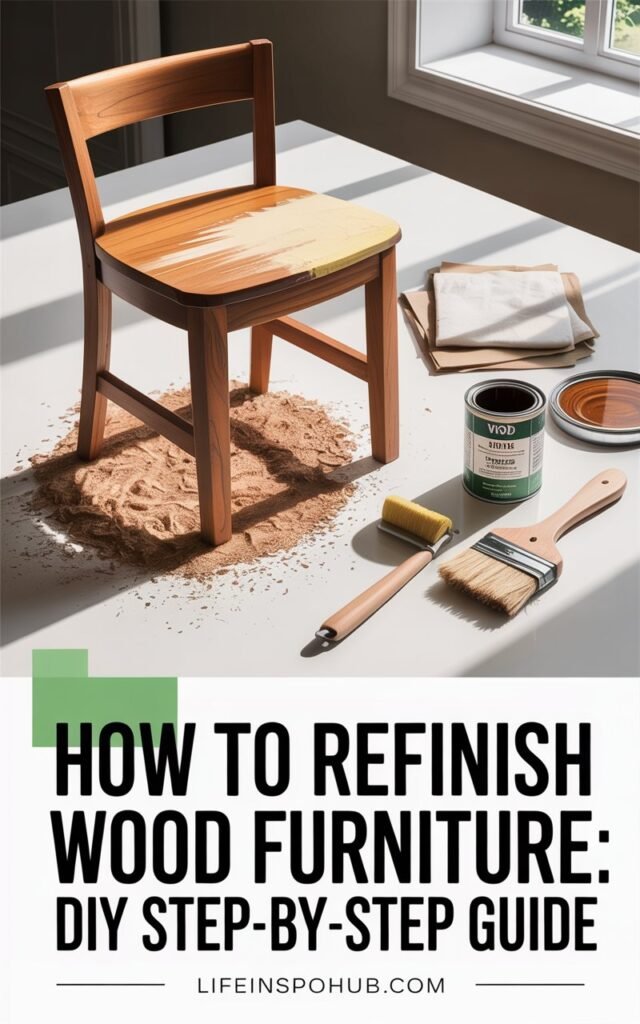
If you’ve ever wanted to breathe new life into an old dresser, coffee table, or sideboard but didn’t know where to start, this guide is for you.
I’ll walk you through everything my family and I use when refinishing wood furniture—step by step—from prep and cleaning to stripping, sanding, painting, staining, and sealing.
Whether you’re a complete beginner or just want to refresh a piece that’s been sitting in your garage, this post will make the process approachable, fun, and even therapeutic.
Before we dive in, just a heads-up: Everything in this guide is based on my personal experience.
It’s not professional advice, but I share all the tools and methods we’ve tested in our furniture makeovers.
Some links are affiliate links, which means I earn a small commission at no extra cost to you.
Supplies You’ll Actually Need to Refinish Furniture
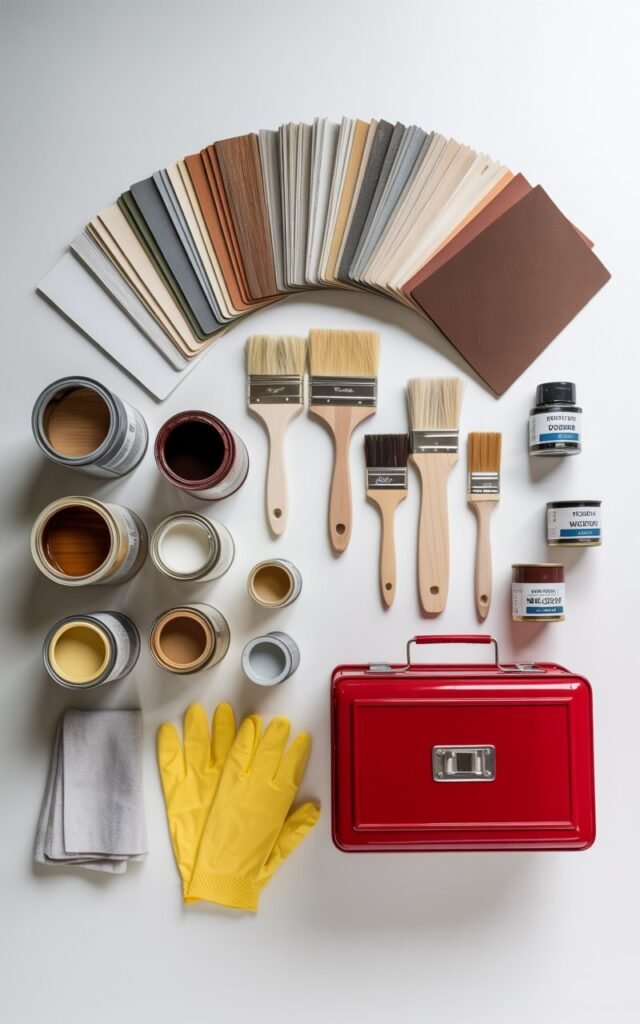
I know that when you’re just starting out, spending money can feel stressful. I promise you don’t need every fancy tool or gadget to do a beautiful furniture makeover. Here’s my must-have list for getting started:
- Soft cloths – Old t-shirts or socks work perfectly.
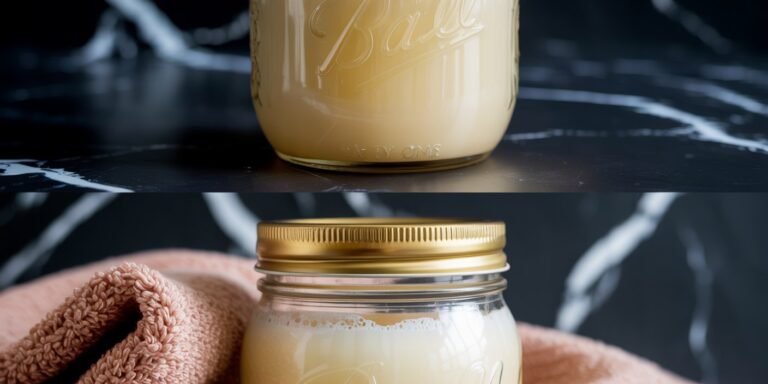
- Cleaning solution – I use Krud Kutter for tough grime, but a DIY mix of dish soap and water in a spray bottle works just as well.
- Screwdriver – To remove hardware before starting your refinishing project.
- Furniture stripper – This is optional if your piece has heavy old paint or finish, but I’ll share my favorite, easy-to-use option.
- Scraper – To remove old finish when using a stripper.
- Sanding tools – I recommend a random orbital sander with 60 grit for rough sanding and 220 grit for smoothing before finishing.
- Painting supplies – Brushes and foam rollers are my go-to for paint, stain, or sealant.
Pro Tip: Start small. End tables, plant stands, nightstands, or a small dresser are perfect beginner projects. Avoid anything sentimental until you’re confident in your skills.
Understanding Hardwood vs Veneer

I get asked all the time: “How do I know if this is real wood or veneer?” The difference matters because veneer requires different prep, sanding, and finishing than solid wood.
- Solid wood – Perfect for sanding and refinishing.
- Veneer – Thin wood layers glued onto a base. Be gentle when sanding or stripping.
- Laminate/particle board – Often found in budget furniture; painting works best since sanding may not help much.
If you’re unsure, check out my guide with pictures showing solid wood, veneer, and laminate furniture—it will save you headaches later.
Step-by-Step Guide to Refinishing Furniture

Step 1: Clean Thoroughly
Before touching paint or stain, you need a clean canvas. Almost all the furniture I work on is thrifted, so it’s usually dirtier than it looks. Even if you’re refinishing something you bought yourself, cleaning removes grease, dirt, and residue for better adhesion.
My cleaning method:
- Spray a degreaser (or soapy water mix) on the surface.
- Wipe with a clean cloth.
- Repeat if necessary until the piece looks fresh.
This step is simple, but skipping it can ruin your results.
Step 2: Remove Hardware
Take off handles, knobs, and hinges. I store small screws in a labeled baggie so they don’t get lost. This also makes painting or staining easier and cleaner.
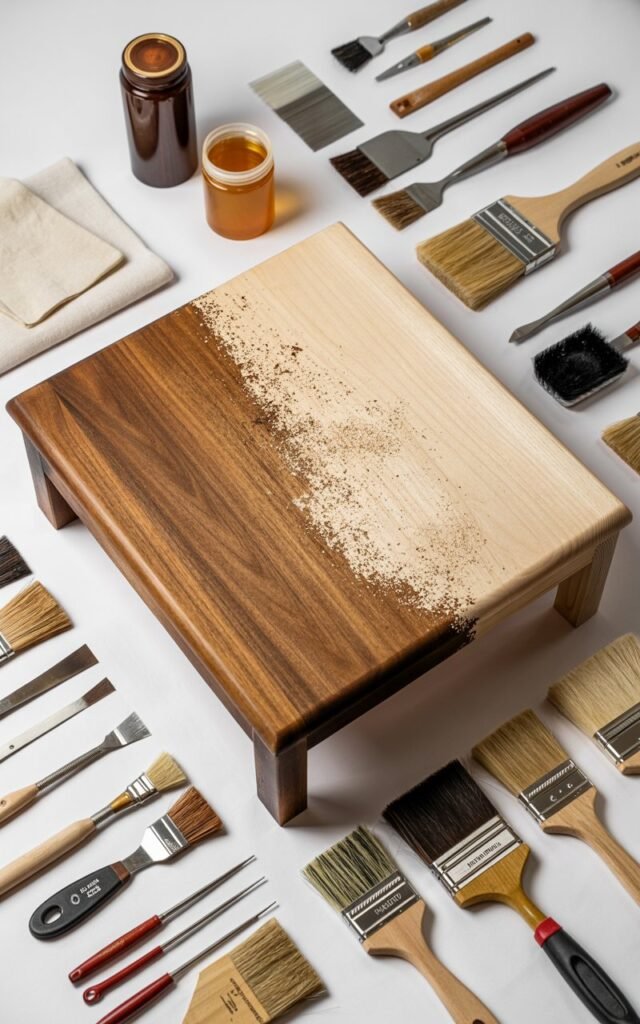
Step 3: Strip or Sand
Depending on your furniture and finish, you’ll either:
- Use a stripper – Ideal for old paint or varnish. Apply with a brush, let it sit, then scrape off.
- Sand – For raw wood or lightly finished pieces. I use a random orbital sander with 60 grit first, then 220 grit for smoothness.
Tip: Always sand in the direction of the wood grain for the best finish.
Step 4: Repair Any Damage
Before painting or staining, fix scratches, dents, or loose joints. Wood filler and clamps are lifesavers here. Taking the time to repair now means a better, longer-lasting finish.
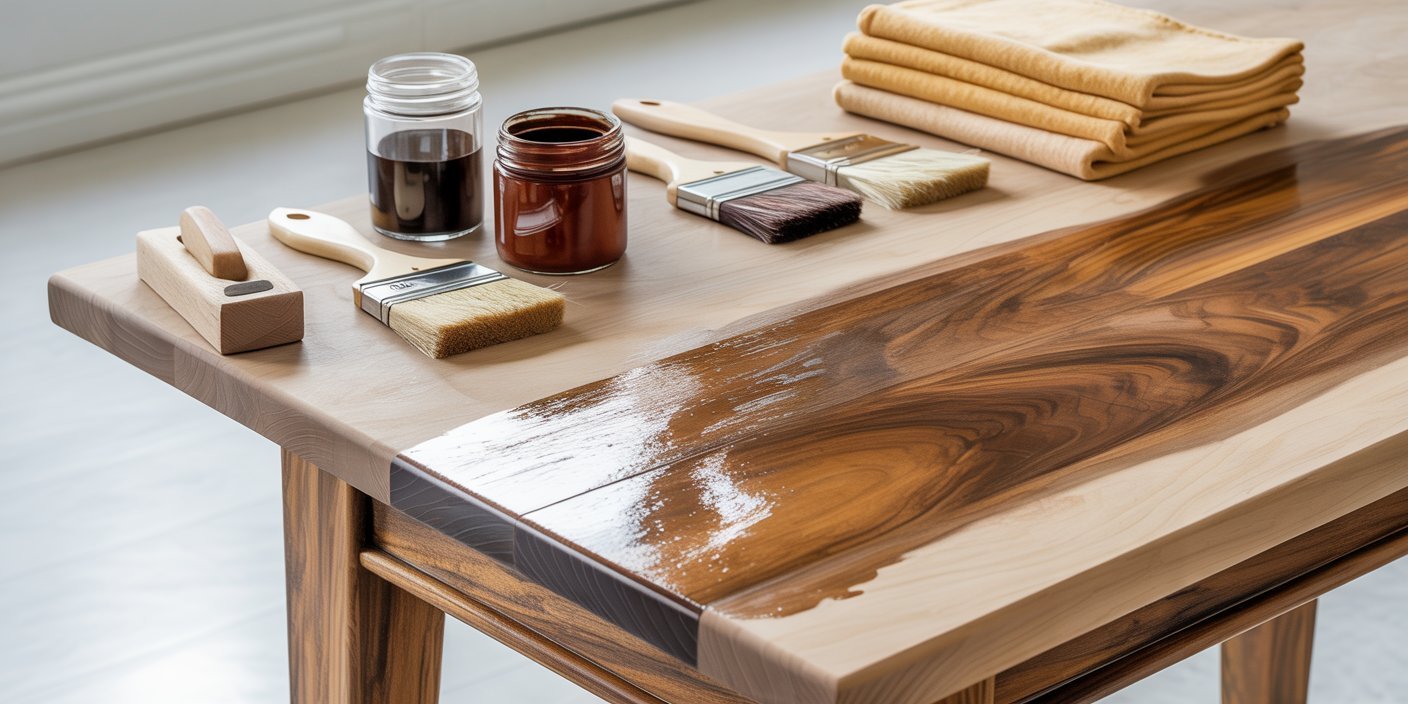
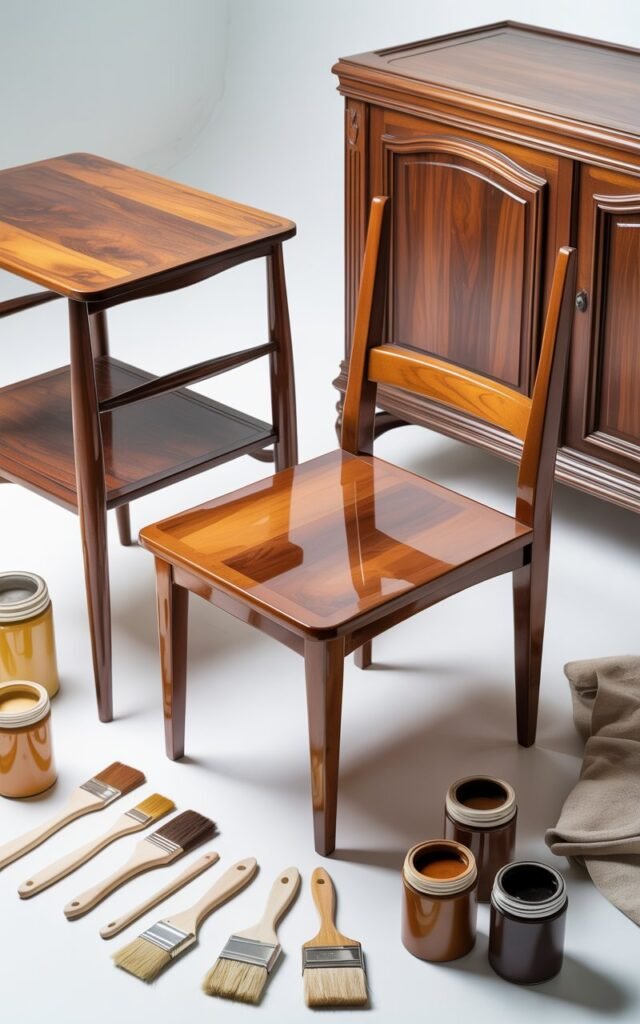
Step 5: Prime and Paint or Stain
- Painting: Apply a primer if needed, then your paint in thin, even coats. Foam rollers work great for large surfaces.
- Staining: Brush or wipe stain along the wood grain, wiping off excess for the depth you want.
We love experimenting with colors—muted sage green, creamy white, and deep navy are our family favorites for furniture.
Step 6: Seal the Finish
Protect your work with a clear topcoat. Polyurethane is perfect for durability, while wax gives a softer, matte finish. Sealant is crucial, especially for pieces that see daily use.
Step 7: Reattach Hardware
Once everything is dry, put your knobs, handles, and hinges back on. Step back and admire your transformation.
Tips From My Furniture Makeovers
- Start small: Don’t bite off more than you can chew. Begin with manageable pieces.
- Choose the right wood: Higher-quality solid wood is much easier to work with than particle board.
- Patience is key: Let each coat of paint or stain fully dry. Rushing can ruin your hard work.
- Protect your space: Lay down a drop cloth and work in a ventilated area.
- Document your progress: Take photos before and after; it’s motivating and helpful for future projects.
DIY Project Ideas for Beginners
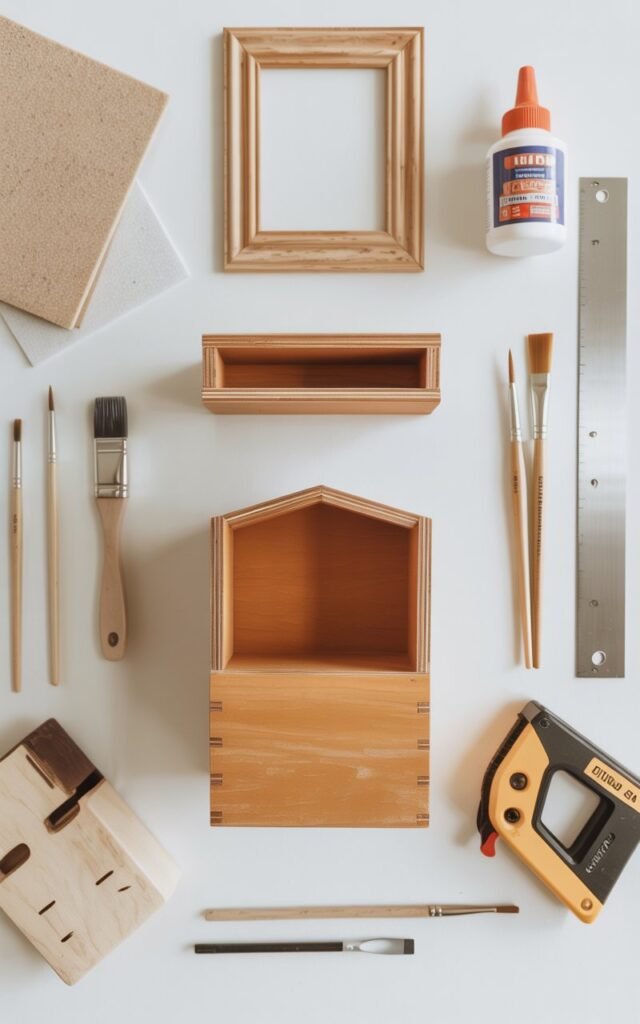
- Nightstands or side tables
- Coffee tables
- Small dressers or storage cabinets
- Plant stands
- Wooden chairs
These smaller projects let you practice skills without the stress of a huge makeover.
Final Thoughts
Refinishing furniture is such a rewarding DIY hobby. Every piece we transform tells a story and adds character to our home.
My family loves seeing old, forgotten furniture become new again, and the sense of accomplishment is priceless.
Even when something doesn’t go perfectly, you’ll learn what works best for your space, style, and furniture.
So grab your sandpaper, brushes, and paint—and start your furniture makeover journey today.